Hyderabadi biryanis are admired for their beautiful coloration and flavor. So once in a while I use organic food colors to get that real touch. In this method there will not be any separate gravy preparation like the Tamilnadu version. The meat gets cooked with rice and hence we will get juicy moist chicken pieces. This briyani is prepared in a slow cooking process called dhum cooking which involves placing hot charcoal over the dhum vessel. But I am narrating that process to do at home, with the equipments we normally have:)
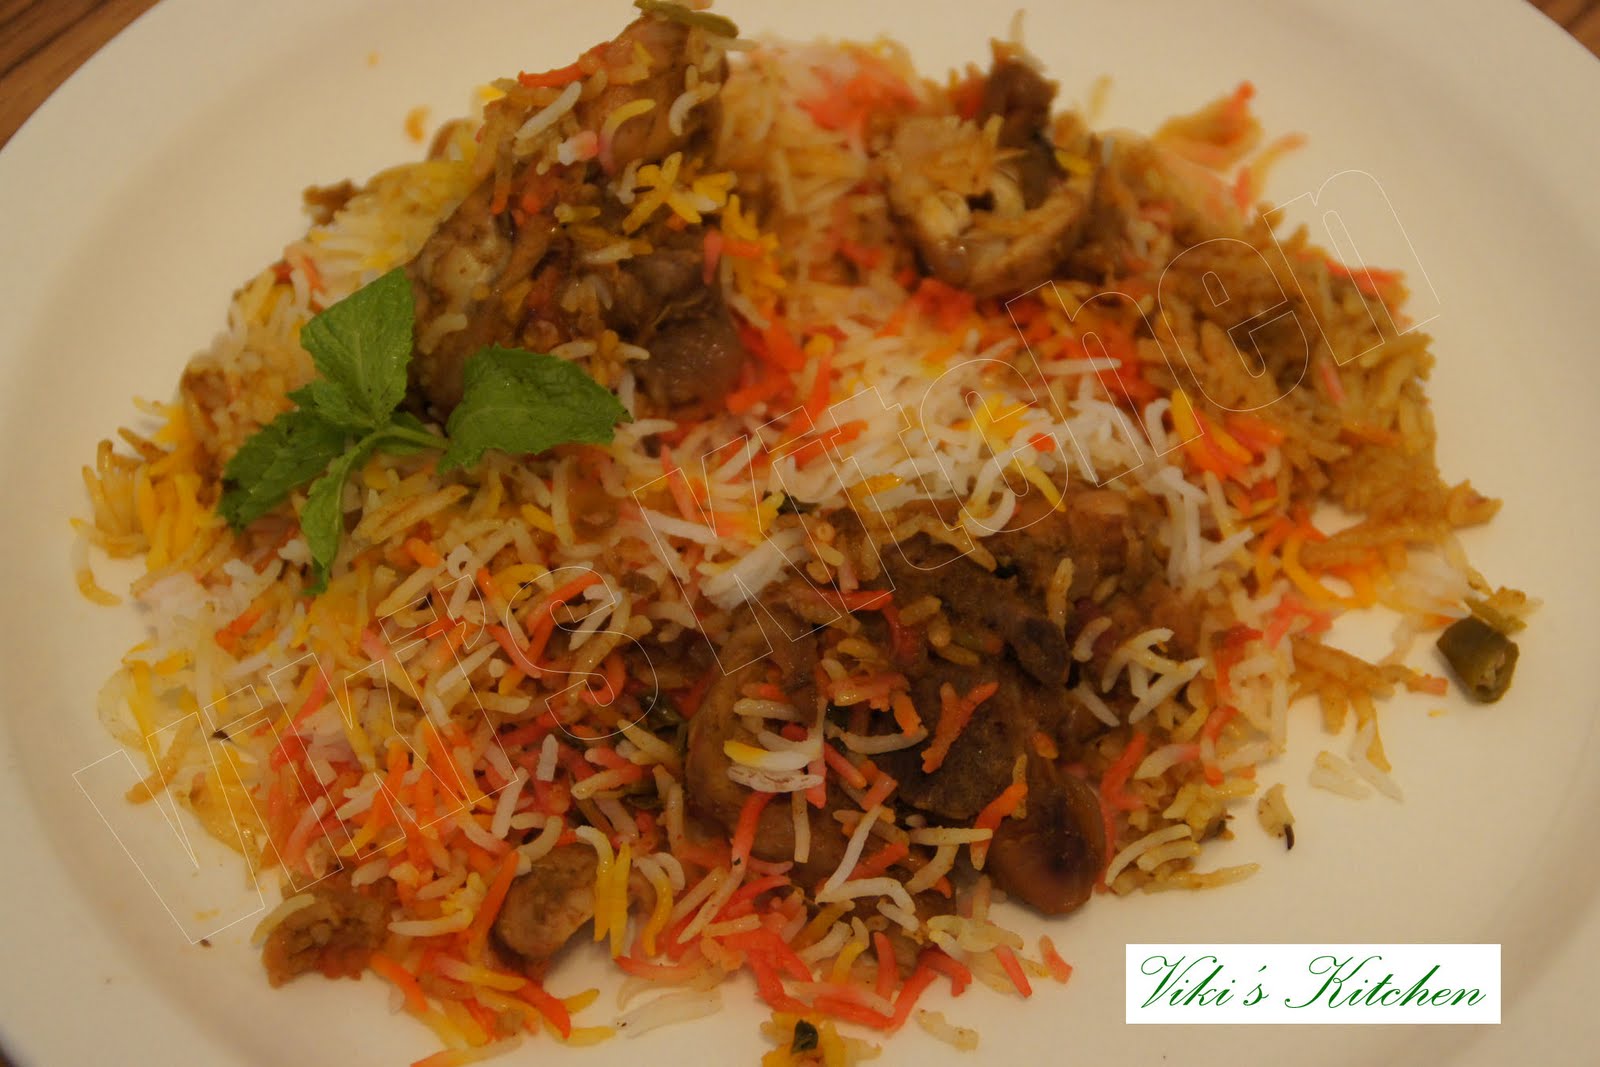
 |
| Hyderabadi Chicken biryani in vibrant coloration. |
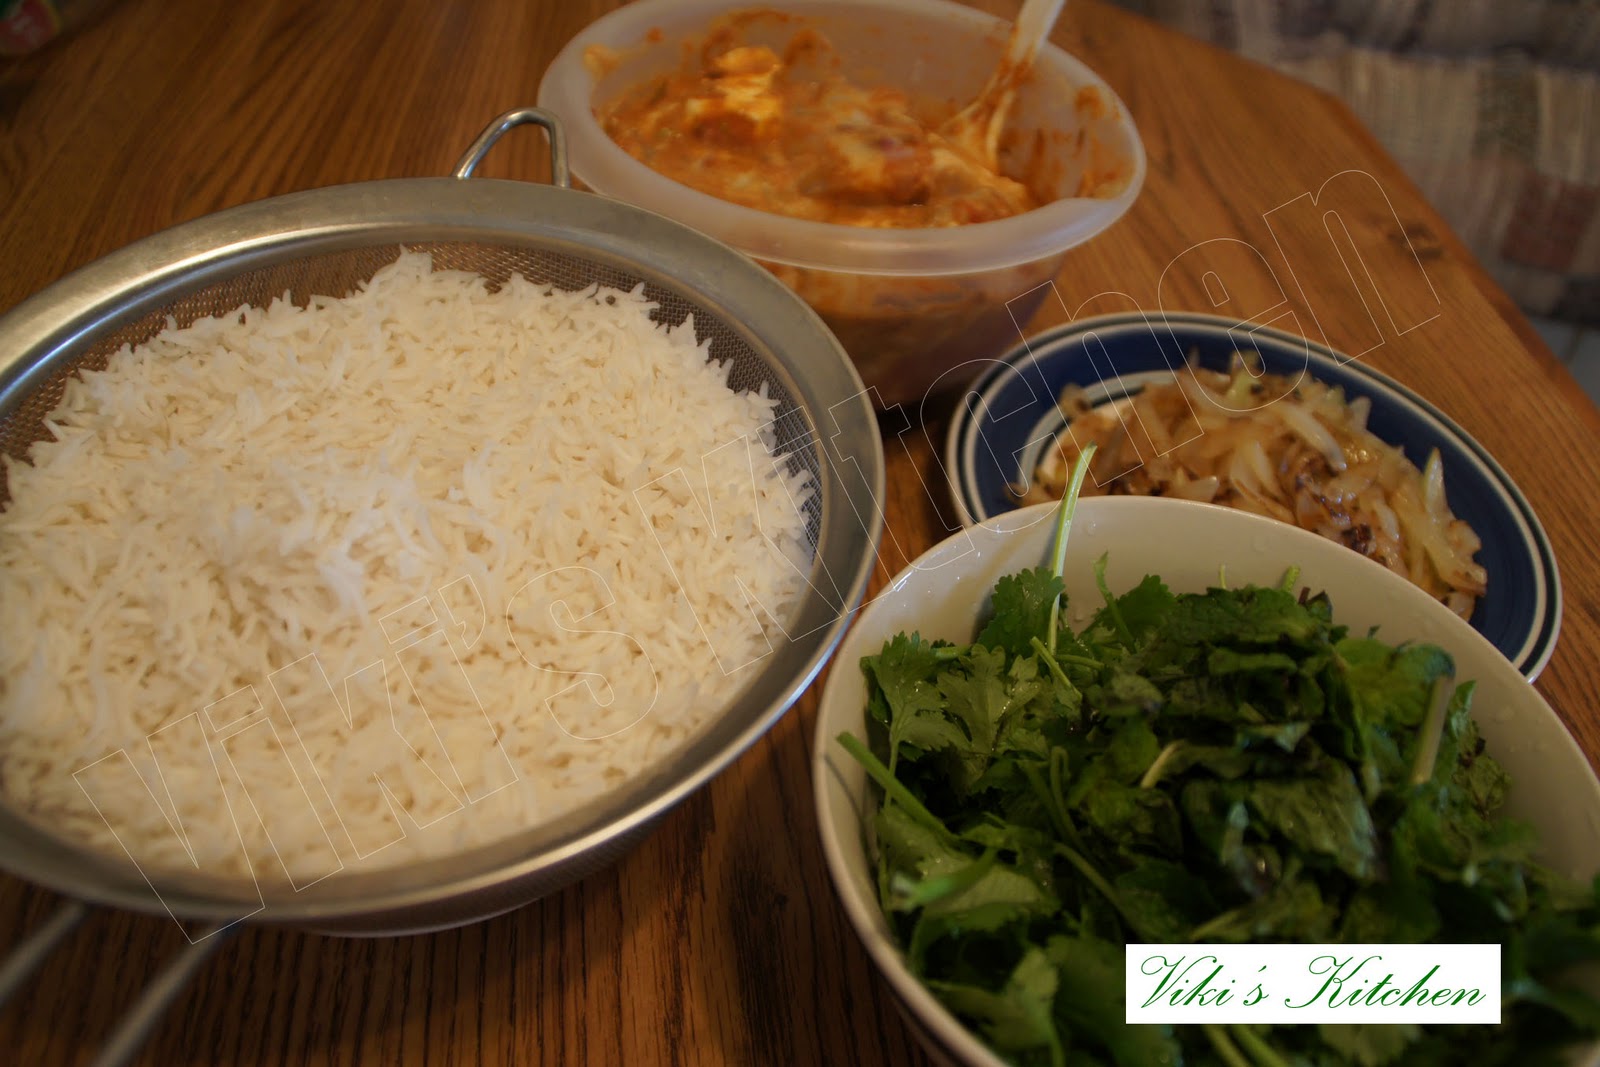
 |
| Main Ingredients for Hyderabadi chicken biryani. |
 |
| Arranging the layers for Hyderabadi chicken biryani before dhum process. |
 |
| A homely dhum process. Biryani vessel tightly sealed with wheat dough and placed over hot tawa. |
To cook rice:
Basmati rice - 2.5 cups (500 gm)salt - 1 tsp
water - 6 cup
bay leaf - 3
star aniseed - 1
black cumin - 1/2 tsp
cinnamon - 1 inch
cardamom - 4
clove - 4
lemon juice- 1/4 of a fruit
Wash and clean the rice. Soak it for 30 minutes. Bring to boil some 6 cups of water.
Add the bay leaf, star anise, cinnamon, cardamom, clove, lemon juice salt, kali jeera (black cumin) and let the rice gets semi cooked. It should be very firm and almost raw. Drain the water using a colander and keep aside.
For garnishing:
cashews - 10raisins - 20
ghee - 2 tbsp
mint leaf , cilantro (chopped)- 2 tbsp
yellow or orange food color - 1 drop ea.
(we can use saffron instead)
cooking oil - 3 tbsp
Red onion - 1 cup (chopped lengthwise)
Heat oil in a flat bottom vessel and fry the chopped onions to golden brown. Take it out and save for garnishing.
In the remaining ghee , fry the cashews and raisins. Keep aside.
For the masala:
Chicken (with bones) - 500 gmraisins - 2 tbsp
red chilly powder - 1 tsp
salt - 1 tbsp
ginger garlic paste - 2 tbsp
mint - 1/4 bunch
cilantro - 1/4 bunch
green chilly - 5
turmeric - 1/4 tsp
ghee - 2 tbsp
plain yogurt (from whole milk)- 1 cup
Grind the mint, cilantro and green chillies to a fine paste.
Now ,wash and clean the chicken. Cut it into big chunks. Mix all the items mentioned above with chicken and place it in the bottom of the dhum vessel. Spread them uniformly.
For flavored water:
salt - 1/2 tsplemon - 1/2
sugar - 1 tsp
kewra water - 2 tbsp
(or, rose essence 2 drops + 2 tbsp water)
ghee - 2 tbsp
black pepper corn - 10
cinnamon - 1/2 inch
cardamom - 2
clove - 2
black cumin (kali jeera) - 1/2 tsp
green chilly - 2
Mace (javithri / jathipathiri) - 1 strand
nutmeg (jathikkai) - a small scraping
Run everything above in a mixer and make a fine liquid. If you don't have enough time then , leave the whole garam masalas and mix 2 tbsp of Hyderabadi biryani masala powder with the other things mentioned above. (I like shan brand biryani masala powder).
For dhum process:
wide vessel with tight lidA dosa tawa
chapathi dough using 1 cup wheat flour
Mix the wheat flour with water to get a bread dough consistency and keep aside.
We can use an aluminum foil also, if we do not want to waste the dough. But sealing with dough is the best method and it is called dum / dhum process, which means 'slow cooking with hot steam sealed inside'. I would suggest sealing with the dough for a tasty dhum biryani.
If you are using a flat lid, then boil 2 liters of water in a vessel and place over the vessel (after sealing) for more heat generation.
Arranging the layers:
Now spread the semi cooked rice uniformly over the raw chicken masala layer.Mix saffron with 1/4 cup warm milk (or) mix the food color with 2 tbsp water and sprinkle it over the rice. I used food color here.(Food color gives a beautiful look.so choose according to the occasion. Natuaral colors can be obtained from saffron, beetroot, carrot etc).
Place a thick dosa tawa over stove, heat it. Now place the dhum vessel over the tawa.
Over the rice, spread the fried cashews, finely chopped cilantro , mint, fried onion and sprinkle the flavored water.
Close the vessel with a tight lid.
Seal the edges with the prepared chapathi dough.
Start heating the arrangement. Keep the flame at high till the tawa gets heated and then reduce it to a minimum. Leave the whole set up for 2 hours. (Cook it in very low heat to avoid burnt smell). If you are making for a large scale, baking is the best method. Place the entire setup inside the oven and bake at 350 deg C and 90 minutes.
After that discard the dough, open the lid carefully.
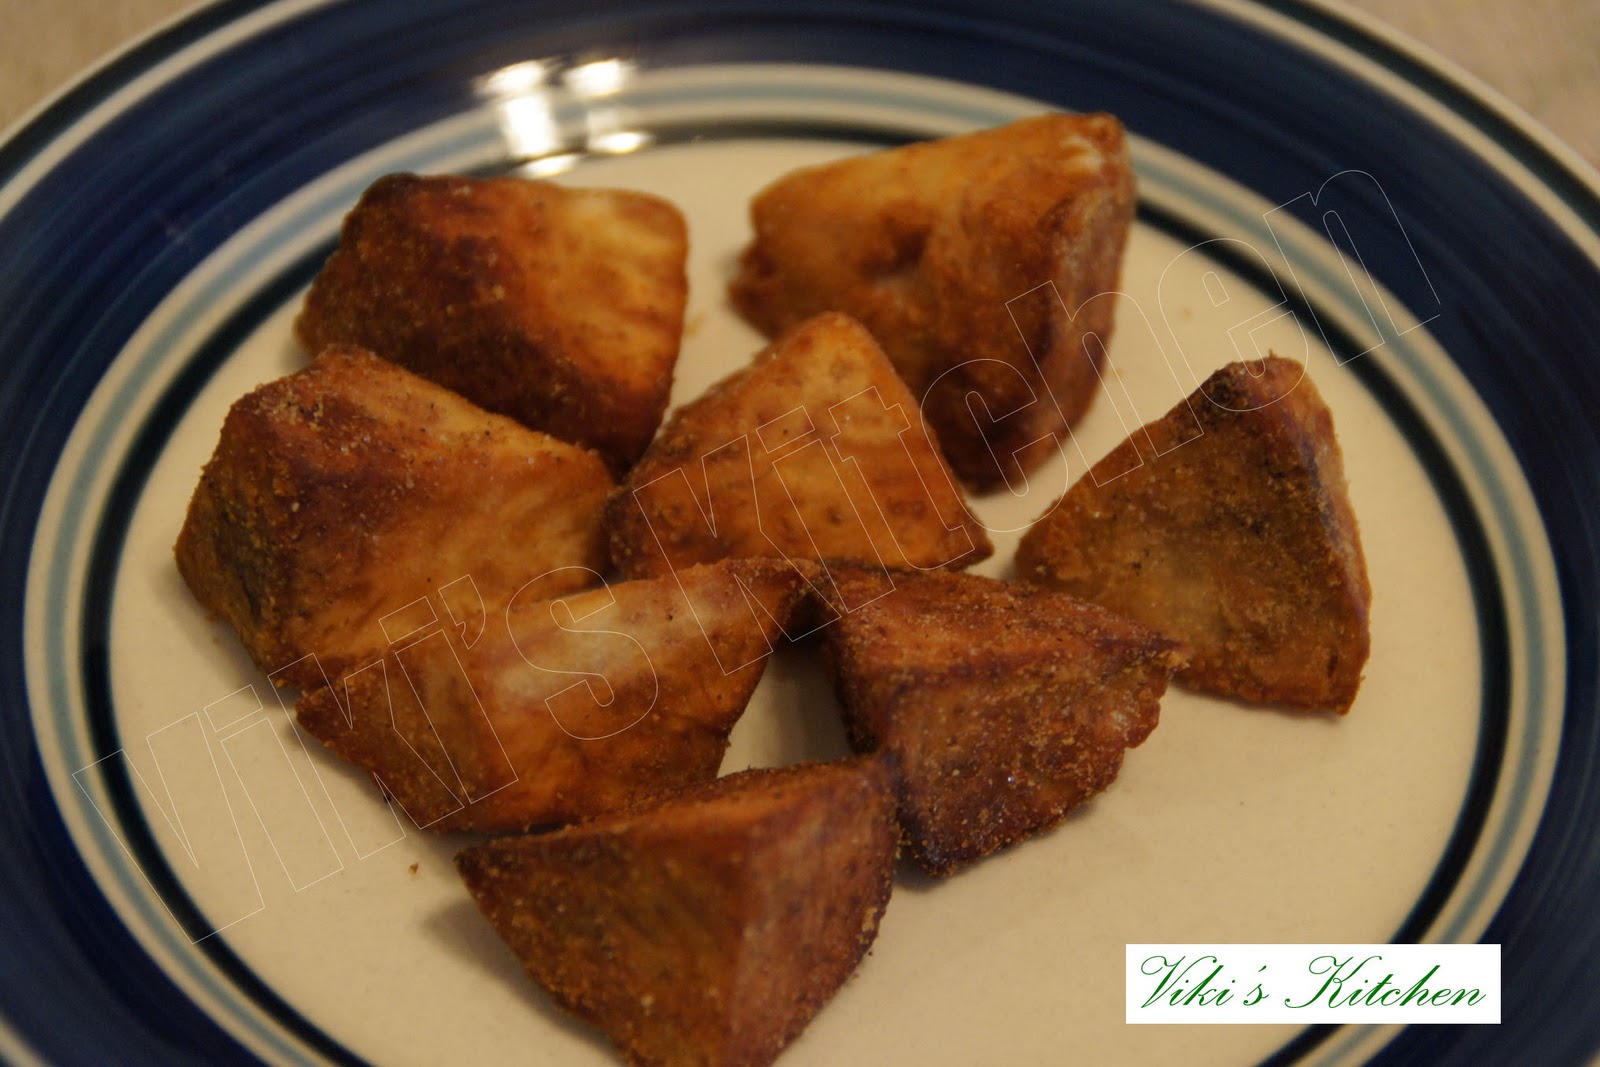
Hyderabadi chicken biryani is ready!
|
| Hyderabadi Chicken biryani. |
Serving suggestions:
Serve the biryani like a layered rice, so that every plate gets a portion of rice, chicken and colorful topping.The guest has to mix and devour:)Serve with boiled eggs and raitha of your choice.
Serves 5 to 6 people.


