Tuesday, August 27, 2013

Thattai

Thattai is a popular south Indian snack. Other names are thattu vadai, thattai murukku. I just love this snack very much and will try to buy a pack whenever I see it anywhere. But hubby dear likes this snack only if I make it at home, as he thinks store bought thattai have a harder texture and unbreakable:) There are various thattai recipes but the core ingredient is rice flour. I usually make thattai using murukku flour (with thattai ingredients) also, but there is a separate recipe for the thattai that melts in mouth and here is my recipe after many permutation combinations:). I add more pottukadalai mavu (puffed channa dal flour) to get a crispy wafer like texture but we can halve it too.

Happy Krishna Jeyanthi!

thattai

pressing thattai.

thattai dough for 30 numbers.
Ingredients:
Rice flour - 2 cup
urid dal - 2 tbsp
pottu kadalai (puffed channa dal) - 3/4 cup
curry leaf - 2 sprig
shredded coconut - 2 tbsp
sesame - 2 tbsp
channa dal - 2 tbsp
red chilly powder - 2 tsp
hing (asafoetida) - 1/4 tsp
salt - to taste (3 tsp)
butter - 2 tbsp
oil - for deep frying

Method:
Soak the channa dal in water for 1 hour. Keep aside.

Dry roast the rice flour for few minutes till it looses moisture. I use store-bought rice flour and it takes 2-3 minutes per cup of flour to get that loose texture.
Dry roast the urid dal till it smells good (not red), let cool and powder it.
Powder the puffed channa dal (dalia flour).

Put the flours in a large mixing bowl. Add butter, curry leaf, soaked channa dal, sesame, red chilly powder, shredded coconut, hing. Mix salt with a cup of water and use this to knead the flour.
Knead the dough to a very soft stage (like chapati dough). Apply some oil over it.

Make small lemon size balls (approx 30 numbers).
Take a  ziplock cover and open three sides with one side closed. Or simply fold a plastic sheet and use it to press thattai.

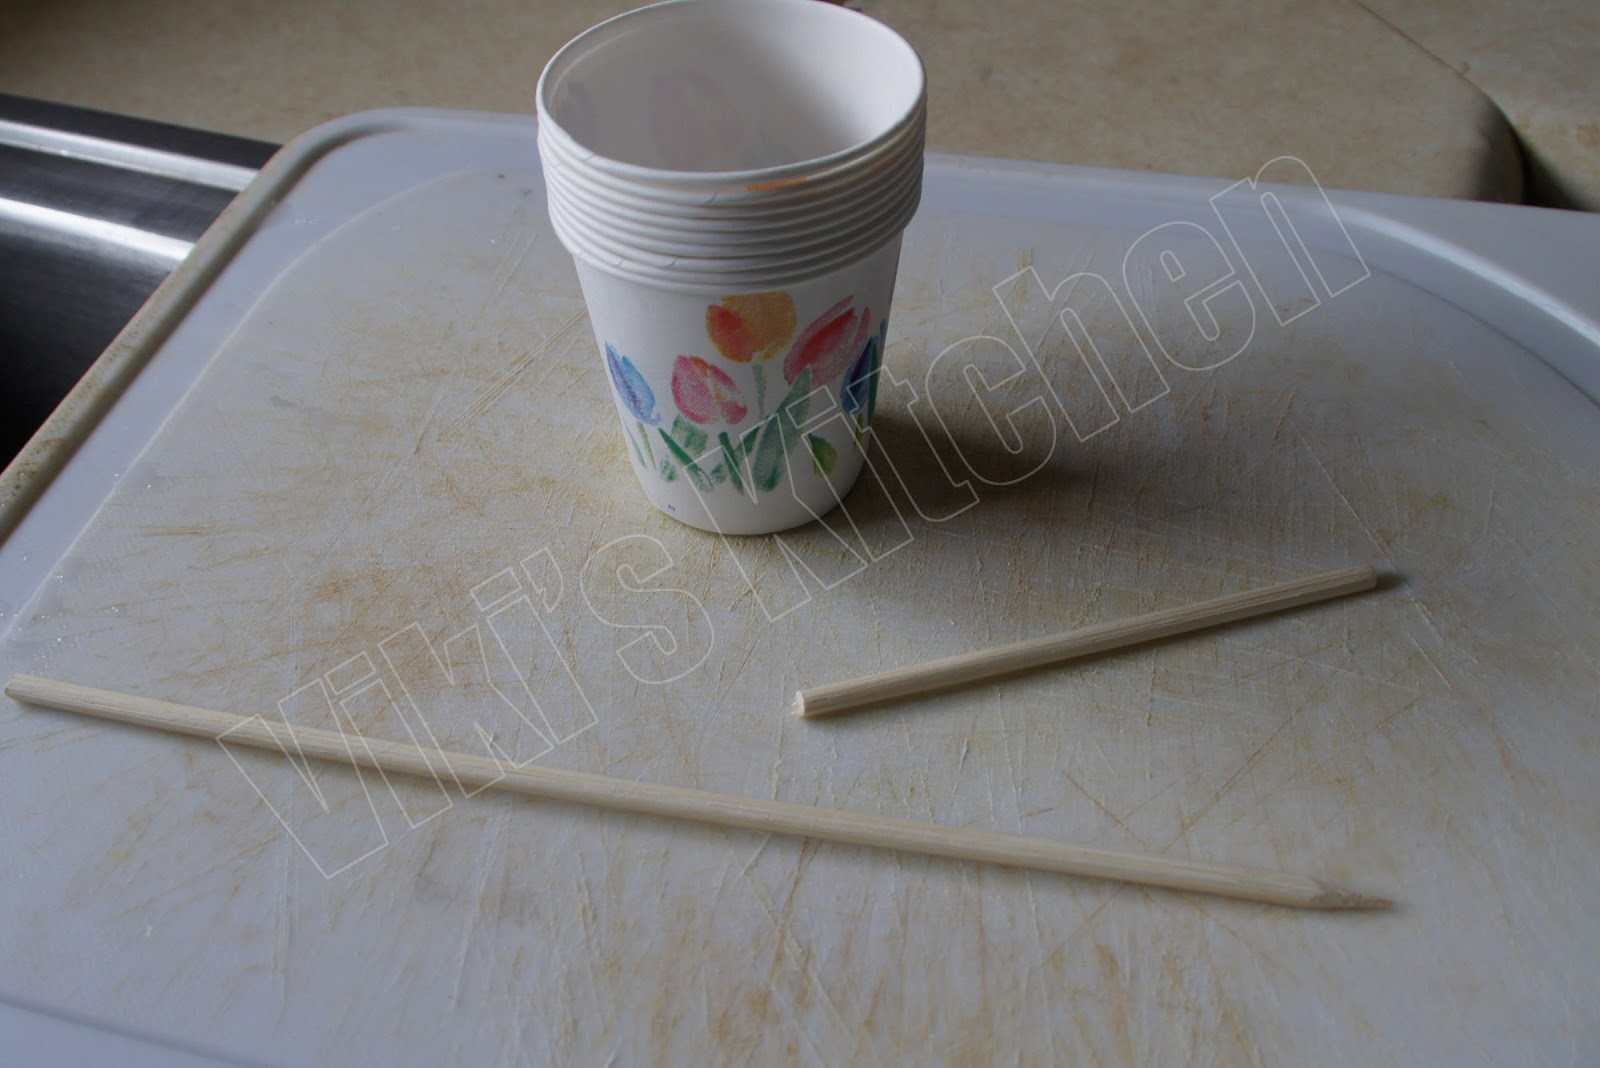
Place one ball inside the opened ziplock cover , close and press using a flat cup(as shown in photo). Prick a few holes using a fork or toothpick (to avoid thattai puffing up). But I didn't prick all the thattais (as mine are thin only).

In the mean time start heating the oil in a frying pan. As it gets maximum heat, put the pressed thattai and reduce flame to medium. After a few seconds flip and cook till bubbles settle. Take out , drain excess oil and keep on paper towels. Just like this fry the thattai one by one. The whole process may take 45 minutes.

Store in airtight containers and enjoy!

Serving suggestion:
Serve as snack with tea or coffee.

Thursday, August 22, 2013

Kadanja Kathirikkai and my kitchen garden

I prepared this side dish with homegrown eggplant and tomato. Here are some pictures of my kitchen garden. I love gardening, especially kitchen gardening is always rewarding. This year we planted 6 burpee brand eggplant plants and we are blessed with loads of harvest and I thank God for this happiness. I cooked a lot of dishes with eggplant. Also the homegrown  tomato, basil, spinach gives us immense pleasure. I shared the eggplants with few of my neighborhood friends and still waiting to harvest more:)

Kadanja kathirikkai - Mashed brinjal in tangy tamarind and tomato sauce.


Bought them on May 20, 2013 from stop and shop.
One Tomato plant for  $3.99
This 6 eggplants pack is for $ 3.99 only....eggplants always comes in deal.
Our garden space.


First harvest
I got this recipe idea from Ms. Manohari of Arusuvai.com. Thanks dear, now I have learned another yummy Indian brinjal recipe.

Ingredients:
Eggplant / brinjal - 1/2 kg
unripe tomato - 1 or 2
tamarind - small lemon size
green chilly - 5
red onion - 1
turmeric powder - a pinch
asafoetida (hing) - a pinch
garlic - 5 cloves

To Temper:
coconut oil - 1 tbsp
curry leaf - 1 sprig
dry red chilly - 2
mustard - 1/2 tsp
urad dal - 1/2 tsp
cumin - 1/2 tsp

Method:
Extract the tamarind juice. Keep aside.
In a pressure cooker vessel add 1 cup water, finely chopped onion, chopped brinjal, finely chopped tomato, slit green chillies, peeled garlic, turmeric , hing, tamarind juice .
Bring to three whistles and switch off.

Add required salt and mash this using a spatula to a coarse state.
DO NOT mash in a blender.
Keep aside.
In a tempering wok, heat oil, add mustard and as it starts cracking, add cumin, urad dal, curry leaf, dry red chilly. Pour this over the mashed eggplant.
Kadanja kathirikkai is ready!

Serving suggestion:
Serve as side dish with dal rice, curd rice,roti,  idly dosa.

Monday, August 12, 2013

Ripe mango pickle

Recently hubby brought a pack of sweet mangoes from Asian stores and I prepared a sweet pickle using a few fruits. Cooking with fruits is very rare for my style as we like to eat them fresh. But during this Summer I wanted to preserve a few mangoes to get the taste of them for a few more months:) . I made this pickle just like raw mango pickle but added some more ingredients to intensify the sweetness and longevity.  The pickle has become our new favorite and it makes every meal more mouthwatering:) I shared this with some of my friends and they also appreciate the taste and this makes me more glad !
Sweet mango pickle

mambala urukai

mango slices

Champagne variety Mexican ripe mangoes.

Ingredients:
Ripe mango - 3
sesame oil - 2 tbsp
any oil - 4 tbsp
lemon - 1
vinegar - 1 tbsp
red chilly powder - 1 tbsp
jaggery (brown sugar) - 1 tbsp
mustard - 1 tsp
fenugreek - 1 tsp
sea salt - 2 tbsp (or more)

To fry and grind:
mustard - 1 tsp
fenugreek (methi seed) - 1/2 tsp
hing -a tiny piece

Method: 
Wash the mango, wipe and clean without any moisture. Peel the mango if it is very ripe. Otherwise cut it with skin. (I used very ripe mangoes, so I peeled them off). slice it into small cubes and keep aside.

Heat a drop of oil in a wok. Fry the mustard, methi and hing till mustard pops. Powder these together.

Now heat the 6 tbsp of oil in a wok. I mixed sesame oil with corn oil, but South Indian pickles are generally prepared with pure sesame oil only. Add mustard, fenugreek and let the mustard crackle.
Put the chopped mangoes and stir well. Then add the dry chilly powder, salt and saute till mango seems cooked (mushy). Put jaggery, prepared powder, juice of 1 lemon and mix well. Bring it to a boil and switch off. After few seconds add the vinegar and mix well. Check for salt and store in clean bottles. Let cool completely, secure with a lid and store for a month or two in room temperature.

Serving suggestion:
Serve as side dish with curd rice or any rice or roti.

Note:
Adding vinegar increases the longevity and shelf-life at room temperature.
If lesser oil is used or vinegar is not used, then keep it in fridge.
Sweet and sour mangoes make a very good quality sweet pickle (for example kili mooku/ parrot beak long mango variety). This is a good way of preserving ripe mango during season.

Thursday, August 8, 2013

Wednesday, August 7, 2013

Milk popsicle

This Popsicle mold  was lying around in my kitchen for many years till I found a lot of interesting popsicles via  pinterest this summer. I thought I should make a nostalgic post if I can prepare a milk popsicle, popularly known as paal ice while I was growing up. I just love this ice very much and hubby too wanted me to re-create one for us:)  I am not sure if my recipe is the original one, as I have never asked anyone about this. But I assumed that this humble pal ice would have been made of lesser expensive ingredients as it was sold for fairly a lesser price at that time (this would be the least expensive one in that icecream cart and every kid could afford this in their pocket money). So I prepared a leaner version using cornstarch to give the creamy texture and it was successful. The popsicle tasted almost similar to the good old days and we enjoyed every lick:) If needed anyone can replace cornstarch with condensed milk and nuts to get a kulfi texture.
My cute little popsicle molds.

Pinky popsicle is always mine:)

Ingredients: (four Popsicle)
Milk - 1 cup
water - 1/2 cup
sugar - 6 tsp
corn starch - 1 tsp
water - 1/4 cup

Method:
Mix corn starch with water and cook it in 1/4 cup water. Stir continuously till it starts forming a thick mass. It should look very creamy.
Boil the milk with 1/2 cup water. Switch off.
Add the corn starch, sugar to milk and dissolve thoroughly.
After cooling completely pour in popsicle molds, freeze for 6-8 hours.
To take the ice out: Keep the popsicle mold upside down in warm water for few seconds and take out.

Serve as dessert.

Some more ideas:
I used some small dessert cups to make popsicles.
Pour the popsicle liquid in the cups, cover them with aluminum foil and insert an icecream stick through it. Freeze as usual. I used a kebab skewer as I didn't have icecream stick at that time. I cut it into 3 and it worked fine for me:)


Saturday, August 3, 2013

Pasta with tomato basil sauce

A basic tomato sauce with rotini pasta. I have used fresh basil leaves from my garden here. Growing basil from seeds is very exciting and a nice way to make our own sauces. Tukmaria / sabja / pachilai thulasi is the name of basil in India. Grow this fragrant herb in your garden and have fun.

Ingredients:
Pasta - 3 handful
Tomato -  3 ( 4 tbsp puree)
garlic - 2 cloves
salt - as per need
shallot - 2
black pepper - 1tsp
basil leaves -10
butter - 1 tbsp
EVOO - 1 tbsp
All purpose flour - 1 tbsp
water - 1/2 cup
brown sugar - 1 tsp

Method:
Bring water to boil. Add the pasta and cook as per direction (little firm - Al dente).
Drain and add cold water. Drain again and keep aside.
 
In a separate wok, heat butter. Put the minced garlic+shallot and fry for a few seconds. Then add AP flour and fry for few seconds till raw smell goes. Now add the finely chopped tomato or tomato puree, olive oil and cook till it seems mashed. Then add pepper powder, salt, 1/2 cup water, chopped basil leaves, brown sugar (sugar) and cook for a minute.

Mix this with pasta or serve over it.

Pasta with tomato basil sauce is ready!

Note:
Serve this pasta as main course meal.
This sauce can be stored in fridge for a month.
It can be kept frozen also.
I use this basic sauce in making pasta, pizza, enchilada etc.
If needed add dried Italian seasoning powder along with other ingredients to get a more fragrant version.

Tuesday, July 30, 2013

Ginger garlic chilly pickle

Some months ago, I saw a lot of peeled garlic in sale in an Indian grocery store near our house. Getting peeled garlic is like a jackpot for me, as I started imagining ginger garlic paste, garlic pickle and garlic kulambu as soon as I saw this heap. Then I bought a good amount of garlic and some ginger. After coming home I thought of making a different pickle than my usual garlic pickle, as hubby likes green chillies in his pickle very much. The same night I started making a bottle of this ginger garlic pickle and it tastes incredible. I am keeping this pickle in fridge, as it couldn't be sun dried here. But keeping / warming in sunlight for the first 2 or 3 days will make it more stable in room temperature too.
Ginger garlic chilly pickle

Inji poondu milagai oorugai

Ingredients:
Whole garlic - 4
Green chilly - 6
ginger (chopped) - 1/2 cup
tamarind - 1 lemon size
jaggery (brown sugar) - 2 tbsp
white vinegar - 4 tbsp  + 1 tbsp
red chilly powder - 2 tsp
sea salt -  3 tbsp
To temper:
whole red chilly - 2
mustard - 1 tsp
channa dal - 1 tbsp
hing (asafoetida) - 1/4 tsp
sesame oil - 1/2 cup
To fry and powder:
fenugreek / methi seed - 1 tsp
mustard - 1 tsp
(hing - small bit , if not used for tempering)
oil - 1 drop

Method:
Peel the garlic, ginger and rinse in water. Remove the stem in  green chilly, rinse in water + 1 tbsp vinegar solution.
Drain water and pat dry using a dry cloth / kitchen paper towel. Keep it in a plate or paper towel to dry in room temperature (under fan) for 4 - 5 hours.
Take 1/4 th portion of garlic, ginger and grind to a fine paste using a mixie.
Chop the remaining ginger, green chilly finely. Slice all the garlic into two.
Extract thick tamarind juice using 1/2 cup of BOILING water and keep side.

Heat 1 drop of oil in a wok, fry the mustard, fenugreek and powder them.

In the same wok, heat 1/2 cup oil . Add mustard, channa dal. After the mustard starts crackling, add bits of red chilly, hing powder.
Immediately add the chopped ginger, garlic, green chilly and saute till it seems semi cooked.
Then add the ginger garlic paste, tamarind extract and cook in low heat till raw smell goes.
Add required salt, jaggery, red chilly powder and bring to a boil.
Before switching off, add the prepared mustard, fenugreek powder.
Let this cool completely.
Mix the vinegar and stir well using a dry spoon.
Store in clean dry bottles.
Ginger garlic chilly pickle is ready!

Serving suggestion:
Serve as side dish with rice or chapati.

Note:
This pickle is good for digestion.
Vinegar can be replaced by juice of 2 lemons (but vinegar increases the shelf life of any pickle in all climates).
Using solid hing will make the pickles more flavorful (I have used a small bit of LG compounded asafoetida / hing).

Potato fry (Urulaikilangu varuval)

Potato fry (urulaikilangu varuval) is a famous but simple side dish in Indian cuisine. This can be prepared in a jiffy and a staple in many ...