Wednesday, June 24, 2015

Ponnanganni keerai poriyal (few spinach varieties of Tamilnadu)

Keerai poriyal (spinach stir fry) is a common side-dish prepared in Indian families. Mostly Indians try to include one greens (spinach) in their lunch.

Ponnanganni (dwarf copper leaf) is a very unique and rare spinach of India. It has a lot of benefits. Click to read more about this yummy keerai.

Any keerai (spinach) can be prepared using this recipe. I prepared many keerai recipes during last year vacation in my mother inlaw's house. Here are some pictures of other keerais and the street vendor's keerai basket :)

Ponnankanni keerai in a bag

Keerai koodai (spinach basket) , which the street vendors carry.

A very nice seller (paatti) who brings keerai to my MIL's  house regularly.

I used to give a handful of keerai to the lovebirds in my inlaw's house , immediately after buying a bunch of keerai. Birds love this :)


Estate keerai (Bangalore Keerai) grown in inlaw's house.

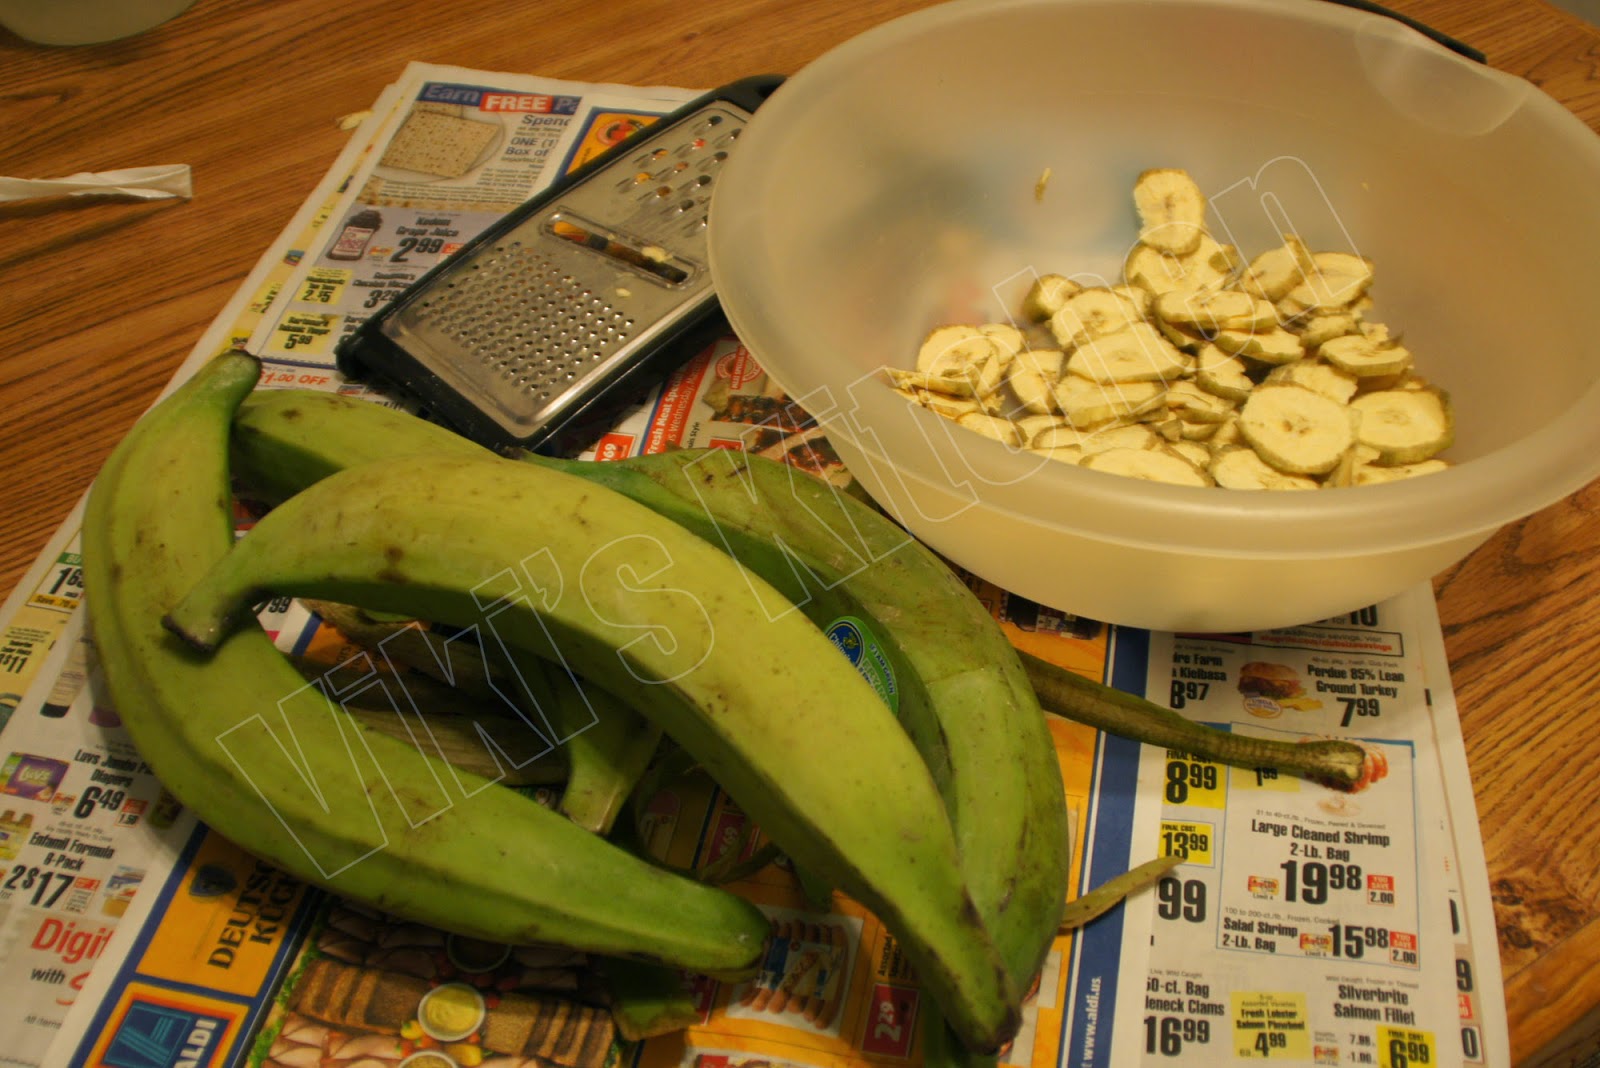
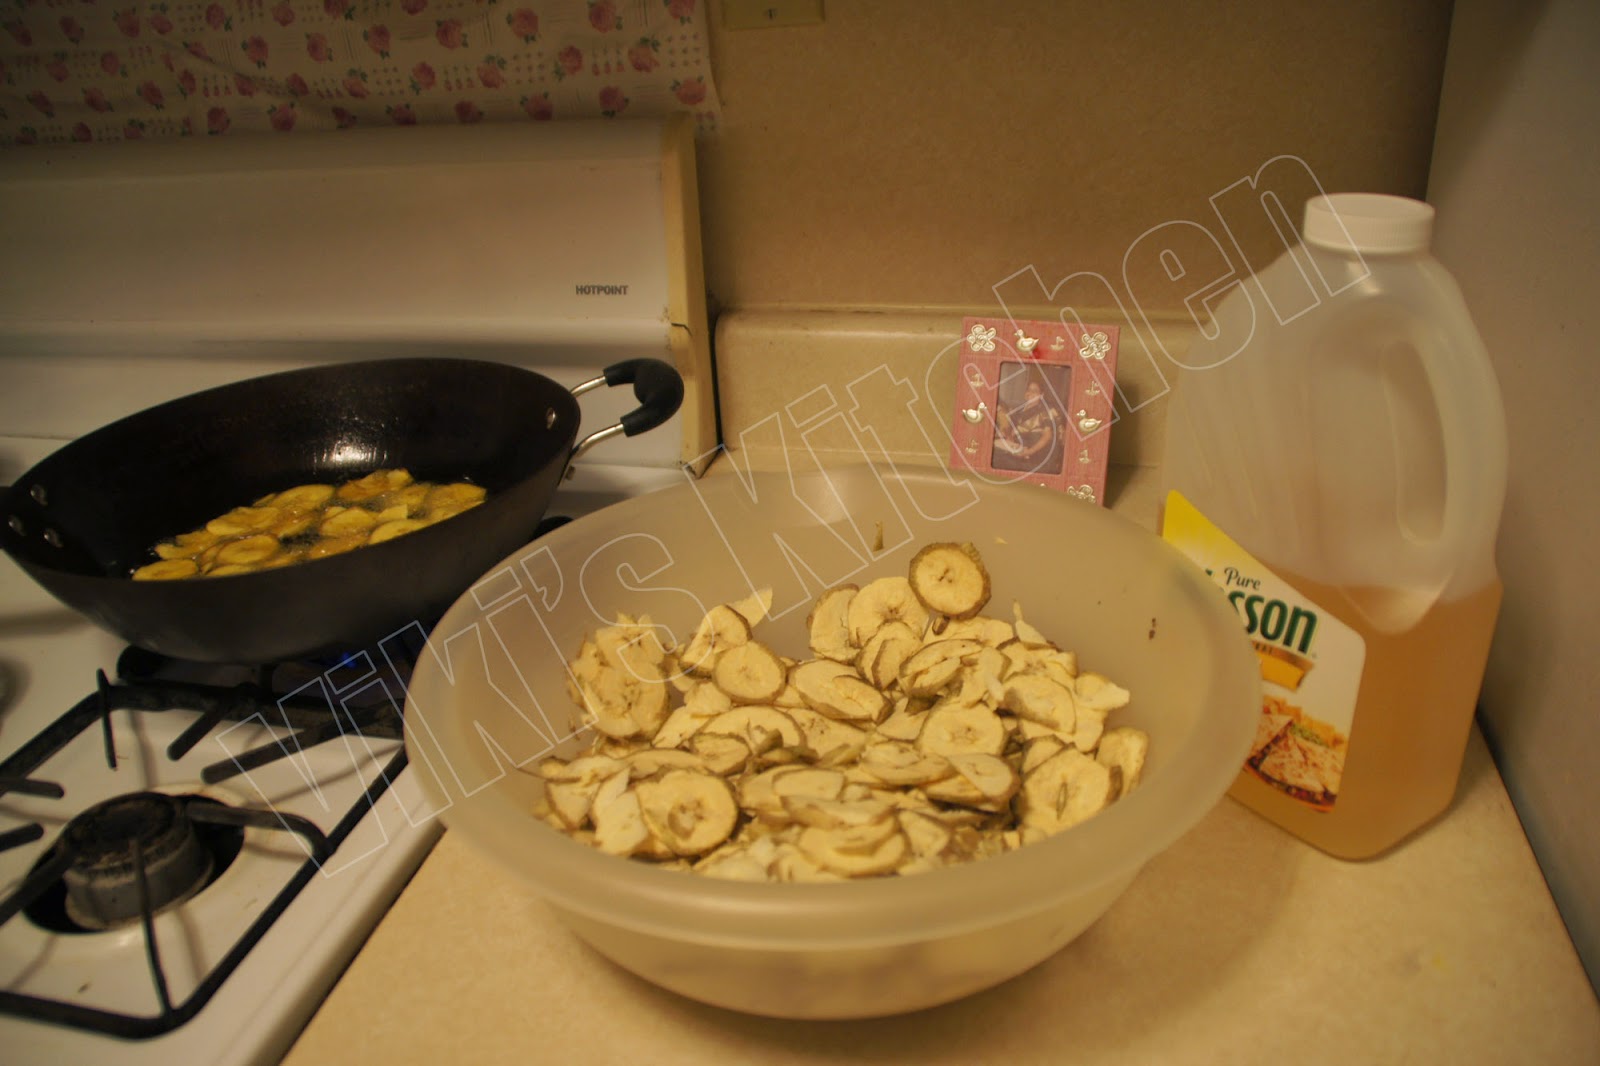
While cleaning the keerai....

Ponnanganni keerai and arai keerai.
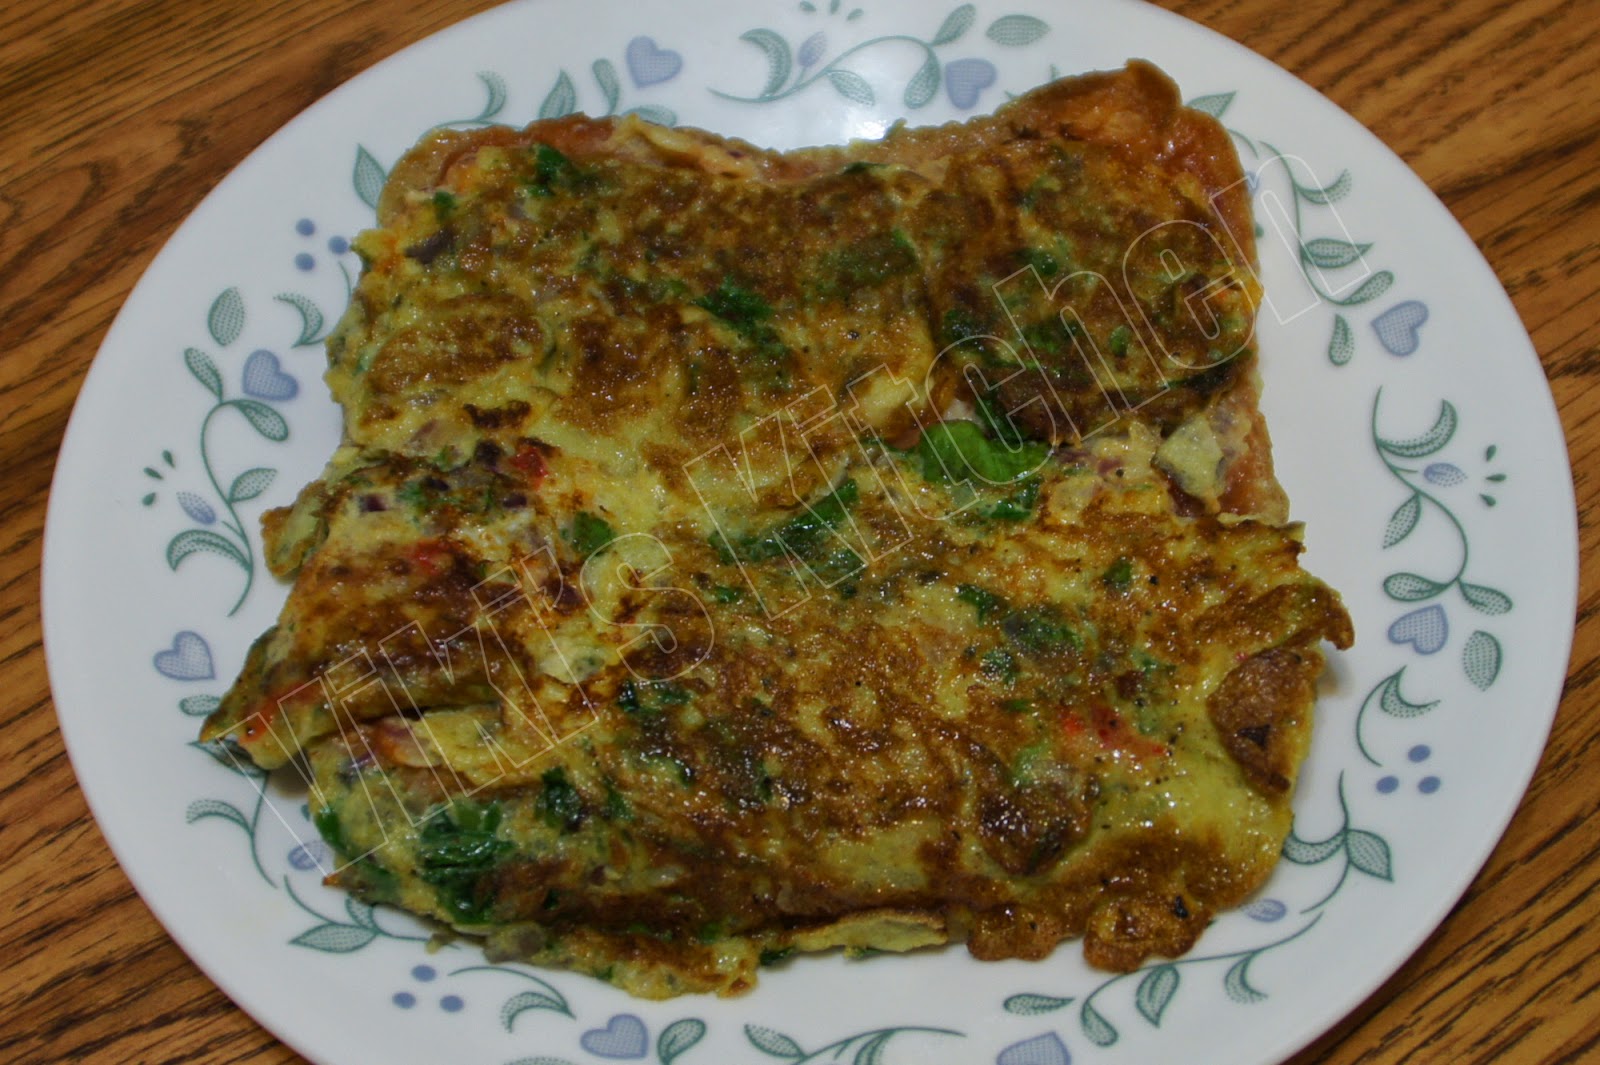
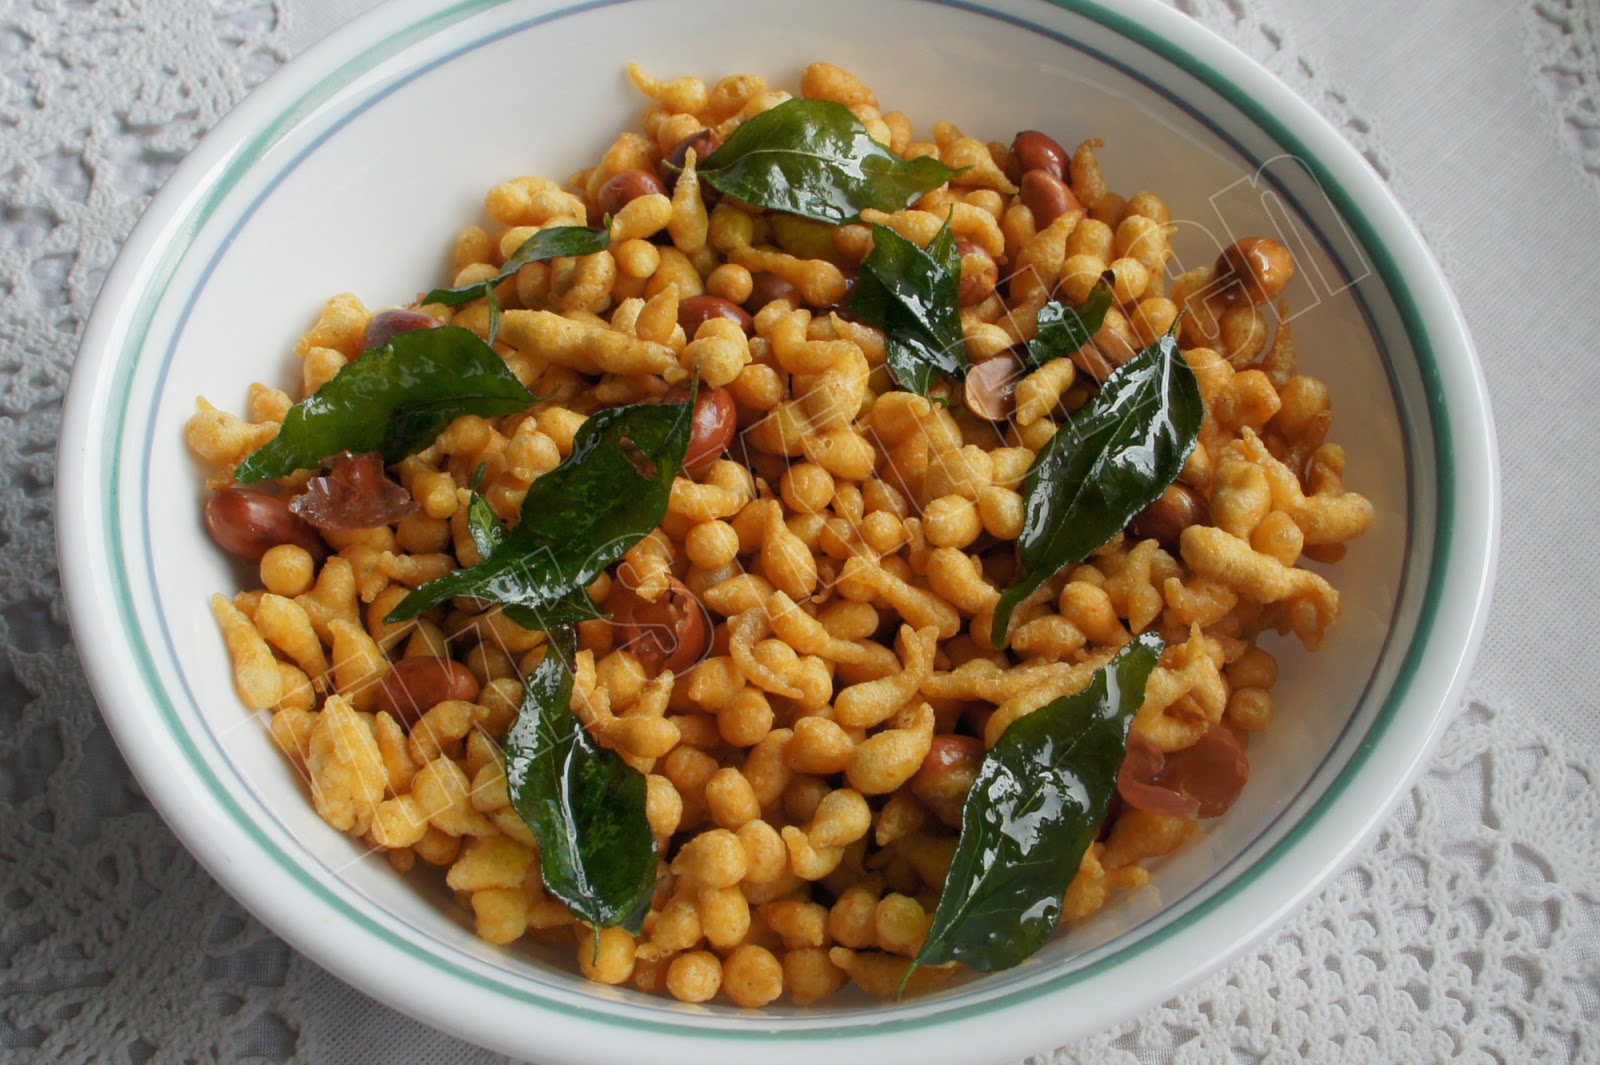
Keerai poriyal


Estate keerai poriyal
Ingredients:
Any keerai (spinach) - a bunch
red onion / shallot (chopped) - 1 cup
green chilly - 2
oil - 1 tbsp
mustard - 1 tsp
urid dal - 1 tsp
cumin - 1 tsp
shredded coconut - 2 tbsp
salt - very little (as per taste).

Method:
Rinse the spinach in water thrice or till the water runs clear. Chop finely. Keep aside.

Heat oil in a wok. Add mustard and urid dal.  Let the mustard splutter. Then add finely chopped onion, green chillies. Saute till it wilts. Then add the finely chopped spinach.
Saute with a handful of water. Don't cover the vessel while cooking the spinach (I don't know the reason behind this, but people in my town cook most of the spinach except drumstick leaf, like this).
As soon as the spinach gets cooked and all the water is evaporated, add required salt and mix well. Then add the shredded coconut, cumin and switch off.

Serving suggestion:
Serve as side dish along with sambar or any curry and rice during lunch.

Wednesday, June 3, 2015

Apple juice

I am sure this is a very easy recipe. But any juice involves some love and care. So I am sharing my views on juicing :)

My passion for making some yummy juices originated from my friend Paaru, almost 6 months back. After tasting the strawberry milkshake made by her on a cool Christmas time, I really wanted to try different juices. Then her cantaloupe juice is my another favorite. I know my hubby dear loves juices, so I wished to show him my new found recipes. Before that I had always felt it like more work to put the fruits in a mixie and filter and then clean the dishes again :)  But if you set your mind to enjoy a fresh homemade juice then you will get the energy to do all these ...ha ha.  My juicing experience got better after bringing my Preethi juicer from India, as there is no need to filter separately.
I am sure, all of my beautiful readers will enjoy my juice recipes too.


Ingredients:
1 big red delicious apple
sugar - 4 tsp
water - 1 cup

Parts of an apple fruit (food for thought) :
Image courtesy : apple
Method:
Cut the apple into four. Remove the seeds and core (pips - seed, endocarp - core).
Chop the apple into small cubes.
Put them into your mixie or juicer.
Grind with sugar and 1/2 cup water.
If using mixie, then filter the juice using 1/4 cup water each time, till we extract all the juices.
If using a juicer (with filter attachment). Then add 1/2 cup water each time and extract juice.
Pour in small juice glasses and enjoy!

Serving suggestions:
Makes 2 cups of fresh apple juice.
Serves 2 people.
Sometimes I won't add any sugar to the juice, but it will be nice to add some sugar for making a delicious one.

Note:
Ok, what shall we do with the fibers that are left over after extracting the apple juice ?
It can be used in baking to get a moist cake.
Also this residue can be used in gardening as organic fertilizer (just like any other kitchen scrap).

Oats millets porridge

Here is one more easy breakfast from my kitchen.
Oats millet porridge (with brown sugar)

Ingredients: oats, barley, Ragi flour, kambu flour.
Ingredients: (for 2 people)
Steel cut oats - 1/4 cup
barley - 2 tbsp
Ragi (finger millet) flour - 2 tbsp
Kambu (bajira / pearl millet) flour - 1 tbsp

Preparation:
*In your free time dry roast the millet flours separately. Let them cool and store in separate containers at room temperature.
This roasting process gives our flours (which we buy in bulk),longevity and flavor.
*Rinse the barley in water. Soak the barley and steel cut oats in hot water for 10 minutes. This makes the cooking process easier. But we can do it without soaking also.
// I do this while making the morning tea and will start cooking them after having the tea :)  //

Method:
Add 3 cups of water in a vessel.  Bring it to boil and soak the rinsed barley and oats for 10 minutes.
Cook in stove top (for 20 minutes) or in pressure cooker for 2 whistles.
Cook till the oats and barley gets cooked to an edible soft stage.
In a separate bowl , pour 1/2 cup cold milk and add the millet flours and mix well using a spoon.
Pour this to the boiling cooked oats.
Stir continuously for 30 seconds (till the porridge becomes thicker).
If needed add some more water or milk.

Now the oats porridge is ready!

Variations:
1. We can add required amount of brown sugar and cardamom powder to have as a sweet porridge.
2. If not, we can let the porridge get cool a little and add some Indian yogurt (curd), minced onion, salt, cumin and have like cool curd rice.

Serving suggestion:
We can make this porridge in  a large quantity for at least 5 days and keep in fridge.
Then we can take the required quantity out of the fridge, bring to a boil and add sweetness or sour curd according to taste, just before serving.
Serve as breakfast.

Sunday, May 17, 2015

Indian bread omelet

Indian bread omelet is a satisfying food that can be prepared easily. Many Indians prefer this spicy bread than the sweet French toast. Bread omelet prepared with loads of butter and cheese can be seen as street food in North India. This is my version. Check out my another bread omelet recipe too.  Try this and tell me how much you like it :)
Indian style bread omelet.
step 1: Add one egg for one person.  Make more and share with friends too :)

step 2: Beat the eggs very fluffy.

step 3: Add some onions and vegetables as per choice.

step 4: beat again.

step 5: Spread some tomato ketchup sauce on one side of the bread.

step 6: Heat some oil in a tawa.

step 7: Pour a ladle of egg over the hot oil and place the bread with sauce side facing up. Soak the other side in egg very well.

step 8: Gently flip the bread now, so that the tomato sauce side faces the omelet.

step 9: After the egg gets cooked in one side, flip it. cook both sides in medium heat.

step 10: Serve hot ...the Bread omelet is ready !

Ingredients:
Egg - 4
whole wheat bread slices - 8
red onion - 1 (big)
green chilly - 2
scallion / spring onion - a small bunch
salt - to taste (1/8 tsp for each egg is my option)
turmeric powder - 1/4 tsp
red chilli powder - 1/2 tsp
black pepper powder - 1 tsp
garam masala powder - 1 tsp
cumin powder - 1/2 tsp
tomato sauce - 1 tsp per slice
oil / butter - 1 tsp per slice
cilantro, mint leaf - handful

Method:
Spread 1 tsp tomato sauce on one side of each bread slice and keep them aside.
Crack the eggs and add salt, pepper, turmeric powder and all the powders mentioned above.
Beat using a fork or electric beater until fluffy.
Chop the onion, green chilly, cilantro, mint, scallion very finely (I used an electric chopper).
Add this to the egg and beat again till fluffy.
Now heat a tawa with little oil, pour a 1/2 cup measure of egg and spread thinly.
Place the bread slice with tomato sauce side facing upside and let the other side absorb some egg.
Now flip the bread carefully so that the tomato sauce side faces the uncooked egg side (using our hands we can flip this).
At this time, the egg would have got cooked in one side. Using a spatula, flip the bread omelet and cook the other side too. Do this whole thing in medium to low heat to ensure evenly cooked omelet.
Take out and serve hot.
Bread omelet is ready !
 
Serving suggestion / note:
Serve as breakfast or dinner.
It can be served as a very good evening snack for children, as soon as they come home from school.
Egg whites can be used instead of whole eggs too.
If needed we can substitute 1 egg with 1 tbsp besan flour mixed with 2 tbsp water (i.e., instead of 3 eggs we can use 2 eggs and 1 besan flour substitute. Don't add too much besan flour). It will taste the same. I have tried it many times.

Thursday, May 14, 2015

Gongura chutney

Other names : gongura / Pulicha keerai  / roselle leaf / Hibiscus sabdariffa
Gongura is a popular variety of spinach in Andhra and Chennai (Tamilnadu). This spinach is sour in taste and it is generally cooked with dal like a curry. Sometimes this gongura is used in making chutney and pickles too. Gongura leaf costs around $4.99 / lb (2015) in US cities,


Gongura leaf : This plant can be grown easily in kitchen garden during warm weather.


Gongura chutney

Ingredients:
Gongura leaf - 2 cups (loosely packed)
dry red chilly - 5
urid dal - 1 tbsp
salt - to taste
cumin - 1/2 tsp
garlic - 1 clove
curry leaf - few
sesame oil / olive oil - 2 tbsp + 1 tbsp
Mustard - 1 tsp

Method:
Choose and buy fresh gongura. Pick the leaves alone and discard the stems.
Wash well and drain water completely.
Heat 1 tbsp oil in a pan. Add urid dal and as soon as it starts getting mild red, add the dry chillies , curry leaf and switch off. The chillies get fried in the pan heat itself.
Take away them and keep aside. Heat another tbsp oil and add the cleaned gongura leaves.
Saute till the leaves get cooked well.
Switch off and let cool.
Grind the fried chilly, curry leaves, urid dal, cooked gongura, cumin, garlic, salt to a fine paste using little water.
Again heat the pan with a tbsp of oil and add the mustard seeds. As it gets cracked, add the chutney paste and cook well till the chutney leaves the sides.
Gongura chutney is ready!

Serving suggestion:
Serve as side dish with  idli , dosa or curd rice.

Tuesday, May 5, 2015

Homemade plantain chips

Banana chips / plantain chips / vazhaikkai chips / valai kai chips / yethan kaai chips , however we call it, anyone who has tasted the freshly fried chips of Kerala and Tamilnadu will love it :)
During my mom's era, she would make a tin full of plantain chips and keep it handy to serve as snack for our whole big family for the summer vacation picnics :) Variety rices like lemon rice, tamarind rice prepared for picnics would get a facelift with this crunchy chips always. Whenever I make some plantain chips, I fondly remember those days when my mom's sister, my Gandhi chithi making these plantain chips in a large yellow container for us all , with the green plantain from our backyard. I know , we all love the foods that have created good memories and that is what encouraging us all to cook happily,

Nowadays getting an air filled pack of chips is easier than going to the kitchen. But still I try my best to make chips whenever we want to buy one. In USA, the deep frying oils come in sale many times a year and I love those sales very much (who wouldn't...hi ..hi ). One plantain will always cost about 19 cents and 1 liter of oil can be calculated to $ 1. In less than $2 + 30 minutes we can get a large quantity of fresh chips.
My version of plantain chips is very easy. Just peel, slice and fry them directly.

Note: Amma's achi (Madurai achi ) gave this chips kattai to amma's amma then amma got it from her. I inherited it from my amma. I'm using this mandolin always :) It's made of pala kattai I heard. Happy memories :)

Golden yellow plantain chips , prepared at home.


Fry in small batches only. Do not rush and crowd the chips. Then only we can get crispy chips.


Note:
The success of homemade chips (plantain or potato), lies in the following:
1. the thickness of the chips
2. The quality of vegetable used. (fresh is the best). Yethan kaai (long variety of banana available in Kerala), is the best. Matured and little ripe is also good. We can see them at Aldi and many grocery stores in USA.
3. Use generous quantity of oil to fry. And also do not crowd the chips while frying. If there are a lot of chips getting fried, then they will become soggy by their own moisture instead of getting fried.
4. Lighter oils are best to fry . e.g., coconut oil, corn oil, Canola etc., . The best thing about coconut oil is , we can reuse that oil after frying.  I add some coconut oil in corn oil (as coconut is very expensive here), to bring out that real flavor :)

Ingredients:
Unripe plantain (long variety) - 2 or as per need
oil - 3/4 liter (to deep fry)
turmeric powder - 1 /2 tsp (optional)
salt - 1 tsp
red chilly powder - little for garninshing


Method:
Peel the skin of plantain gently , leaving behind some thick skin on.  If using an adjustable type slicer, then set the screw to make medium thin to thick chips for plantain. Slice the plantains and keep handy.
In the mean time , heat oil in a broad wok. Put little turmeric powder and salt in the oil for color and flavor. This is optional only. Sometimes I add salt and pepper after frying only.
Add approximately 10-15 slices of chips and fry till bubbles settle. Using a slotted spatula, mix / flip the chips and fry evenly. Take out and keep on paper towels to drain oil.
Likewise repeat and fry all the chips.
Put the chips in a container and sprinkle little salt and chilly powder. Shake and mix well.
Keep open to cool completely before putting the lid.
Store at room temperature for more than a week.
Plantain chips is ready.


Serving suggestion:
Serve as snack or side dish with any rice.

                       ♥ ♥ ♥ ♥ ♥ ♥ ♥ ♥

Earlier (before bringing my chips slicer from India), I had tried using this shredded shown below.  This type of slicers are available in walmart. They too come handy, but getting the same thickness as Kerala chips is a bit challenging without the wooden chips slicer. But vazhaikkai bajji cannot be sliced with this, as this makes very thin slices only. So I used to slice manually :)


My hubby dear completely helped me preparing this mega batch of plantain chips (2014)


Friday, May 1, 2015

Kaara boondhi

Kaara boondhi is one of the spicy snacks that can be prepared very easily. The broad multi holed spatula, is the special equipment which makes boondhi preparation very easy. I bought this spatula in a nearby Indian grocery store for $4. This spicy boondi can be used to make raita too. It is a popular snack in Tamilnadu and also this is one of the main ingredients in Tamilnadu / Kerala mixture snack.
Spicy Boondhi (Kaara boondhi)


This is the equipment, boondhi karandi needed to make boondhi (spatula with multiple holes)


Ingredients:
besan flour - 1 cup
rice flour - 1/4 cup
salt - less than a tsp
baking soda - 1/8 tsp
red chilly powder - 1/2 tsp
oil - for deep frying (300 ml)

for garnishing:
raw peanut - 1 cup
curry leaf - few
red chilly powder - 1/2 tsp
salt - to taste

Method:
Put the besan flour, rice flour, salt, red chilly powder 1/2 tsp, baking soda in a wide mixing bowl. Using a 1/2 cup water (add little by little), mix to a thick idli batter consistency.
Heat oil in a deep and wide frying pan.Bring it to frying temperature. Reduce to medium heat.
Scoop a ladle full of batter to the boondhi karandi (boondi spatula). Press and allow the boondhi batter to fall as small droplets. These tiny balls of boonthi gets fried within a few seconds. Check and fry till crispy, while maintaining the pale color.
Drain oil, take out and spread over paper towels to absorb excess oil.
Repeat for all the batter and gather the boonthis in a container.
In the same hot oil , fry the raw groundnut and curry leaves separately.
Mix the boonthi with fried items and add chilly powder and salt to taste.
Kaara boonthi is ready!

Serving suggestion:
Store the boonthi in airtight container and serve as snack.
The plain boonthi without adding peanuts can be used to make boondi raita.

Tomato rice in Briyani Flavor

Tomato rice in home style was the first tomato rice we all used to take to school (in my childhood). Then afterwards it was jazzed up by our...