Sunday, February 14, 2016

Protein rich laddu

This is my own version of a homemade protein bar (say protein ball) / சத்து மாவு உருண்டை , which I prepare whenever we need to buy a snack bar. Hope my readers like it too.

Happy Valentines's day !
Snack balls.

keep it covered to prevent drying.

Ingredients:
Almond - 10
green gram - 1 cup
puffed channa dal - 1/4 cup
peanut  - 1/2 cup
brown sugar - 3/4 cup
ghee / coconut oil - 2 tsp
coconut - 1 tbsp
salt - 1/4 tsp
cardamom powder  - 1/4 tsp
dry ginger powder - 1 tsp

Method:
Dry roast the almond in a frying pan (or microwave 1 minute) and let it cool.
Dry roast the green gram in a frying pan in low heat till it smells good (takes nearly 5 minutes).
Then take it out and let cool.
In the same pan, dry roast the shredded coconut, peanut separately.
Let everything cool.
Grind together everything to a fine powder except sugar and butter.
In the same pan add the brown sugar, heat at low with 2 tbsp water and dissolve. Switch off.
Add the powder , cardamom powder, ginger powder and mix with a spatula. If needed add few drops of coconut oil and mix well. Let cool.
Make lime size balls. Apply little ghee or oil in palm to get a smooth ball.

Serving suggestion:
Serve as snack or dessert.
We can use honey instead of brown sugar too.
It can be kept at room temperature for up to 2 days and after that keep refrigerated up to a month or more.
Makes nearly 20 balls.

Wednesday, February 3, 2016

Aloha bread

It has been my long time wish to bake some soft buns like the sweet buns of India. Then I got this interesting recipe that uses pineapple juice. I think the pineapple is the reason behind the name Aloha bread.  Recipe coutesy: Lovefoodies.com. My sincere thanks to the author. Now I have learned 'how to make a soft bun that melts in mouth'.
I have modified the original recipe a little bit.
While making these buns, I took out some of the dough and stuffed it with coconut +sugar +cardamon and some dry fruits, so that it tastes like coconut bun (thengai bun) for snack.
 Here goes the recipe
Aloha bread


I suggest using this yeast for soft breads.


Proof the yeast.

Butter (melted), milk, pineapple juice, eggs, salt, sugar, vanilla


Add the flours , yeast solution, milk mixture to mixer

Mix at speed 2-3 with dough hook for 5 minutes

keep it covered with cling wrap and let the dough rise in  mild warm place

The dough is risen after 1 hour
Divide it into small balls and place on baking tray

Cover with a wet clean towel coated with AP flour

For our pleasure, I baked a coconut bun using 2 dough balls

coconut stuffed Aloha bun

After 30 minutes, the buns would double in size (second rising)

Bake at 350 for 20- 25 min

Aloha bread is ready

Coconut stuffed Aloha bread is also ready !

hubby dear clicked this photo for me...this is the best picture ever...love the way he care for my simple joys too ☺ 

So the first piece goes to ....my hubby dear ☺

This is Xav's most favorite ☺

Coconut Aloha bread
Aloha bread 

Ingredients:
Bread flour / All purpose flour - 4 cups + 2 tbsp
Wheat gluten (optional) - 1 tbsp
pineapple juice - 1/2 cup
vanilla essence - 1 tsp
milk - 1/2 cup
egg - 2
Sugar - 1/3 cup
butter - 1/4 cup
salt - 1/2 tsp

for yeast proofing:
yeast - 1 sachet (1.5 tbsp)
sugar - 2 tbsp
water - 1/4 cup
Bring water to lukewarm temperature. Add sugar, salt, yeast mix well. Let it rise for 5 minutes. If it didn't rise in 5 minutes, then discard that solution and start again. Care should be taken in lukewarm temperature and freshness of yeast. That is the secret behind soft breads.


Method:
If using fresh pineapple (which I did), then crush it and make juice in a blender. I used 1/2 cup of pineapple pieces.
Add the yeast mixture, pineapple juice, egg, molten butter, milk, vanilla, salt, sugar in the bowl of stand mixer. Beat everything together (using a fork manually or beater).
Fix the dough hook to the mixer.
Add flour, gluten and knead at medium speed for 2 - 3 minutes. If needed add little flour or juice and knead again till the dough gets soft , little sticky at bottom. Add little butter and knead everything together to a ball.  Switch off.
Cover the bowl using a cling wrap. Keep for 1 hour in warm place to double in volume.
Divide into small balls (20). Place on baking pan. Cover with damp clean towel. (Keep some towels for baking alone)
Let it rise for 30 min.
Preheat oven to 350 deg F.
Place the baking trays. Spray the oven with some water.
Bake for 15 - 25 min.
Check after 15 min and if needed bake for 5 more min.
Brush with butter and keep for 5 min to get a gorgeous top.
Sweet Aloha bread is ready !

Serving suggestions:
Makes 24 buns.
We used it just like pav buns and it tastes delicious with pav bhaji.
Or serve as breakfast along with butter.

Thursday, January 28, 2016

Kappa kizhangu (Tapioca) chips

Kappa kilangu / Yucca root / Tapioca / Mara valli Kizhangu / Yezhu ilai kilangu fries.

Kappa kilangu chips or Kuchi kilangu chips is one of my most favorite snacks. In India it was not necessary to make this at home, as we could get it anywhere.  This is a popular street food in Tamilnadu and Kerala. There we can see guys frying these chips in the street corners along with plantain chips and selling in carts. Many years back I heard a few tips on this recipe from a friend. She was the one who told me that this chips should be made after parboiling the roots. Before that I tried peeling the raw yucca root and believe me,  it needs more energy. But parboiling makes the peeling so much easier. So I highly recommend doing that step before peeling the tapioca root.
We can buy this yucca root in all American grocery stores . Mostly it costs around 79 cents / lb . Few months back I made this 'kuchi chips' and it tasted extremely fresh , crispy and delicious. I love the way hubby dear enjoyed it ☺and I will say this is worth a try ☺
Kappa kuchi chips

Yucca root / Tapioca / Mara valli kilangu / Yelu ilai kilangu / kappa kilangu
Cut into 2 - 3 inch long pieces

Parboil the kappa kilangu

Remove the skin

Make very thin slices

kappa slices

Fry the kappa kilangu in small batches
Drain oil in a paper towel

Add salt, red chili powder and devour this crispy yucca fries.

Ingredients:
Yucca root (kappa kilangu) - 1 lb (1/2 kg)
Oil - for deep frying
Salt - to taste
red chili powder - 1/2 tsp

Method:
Cut the yucca root into 2 to 3 inch long pieces.
Bring a large pot of water to rolling boil.
Add the yucca root pieces. Keep boiling and cook for 2 - 3 minutes (so that peeling is easy).
Drain the hot water and add cold water (room temp).
Using a knife peel off the skin.
Cut it into small strips and then cut it into thin long pieces (thinner than French fries).
Heat oil in a frying pan.
Fry the yucca chips in small batches in medium heat.
Take out, keep in kitchen paper towels and drain oil.
Then put all the fries in a container. Add required salt, chili powder and shake well.
Let cool completely and keep in airtight container.
Kappa kilangu chips is ready!

Serving suggestion:
Serve as snack.

Sunday, January 24, 2016

Restaurant style Vanjiram fish fry

King fish / vanjiram meen / seela meen varuval / Chennai fish fry.

In my native this king fish is considered as the king of all fishes when it comes to price ☺. We make yummy curries and fries with many kinds of masalas. Since king fish is an expensive fish, people give more attention to make it more delectable for the family. I too vary the frying masalas to make it extra flavorful, as this is my hubby's most favorite fish. We can see thin slices of fried seela meen (vanjiram) in restaurants. Every time when I say I try to bring out the restaurant flavor in my food, hubby dear will say homely food is better ☺. That is because, Xav likes fish only when I make it ☺ and his words gives me more enthusiasm ☺. Whenever I buy this kingfish, I  keep the marinated fish in fridge till hubby comes and fry this just before dinner.  By this way we can ensure 'fresh fish fry'. This restaurant style fish fry goes fine with fish curry and rice or with chicken briyani or sambar rice.

Here is one of my versions and hope you all love it.

Vanjiram fish fry in hotel style
King fish sliced  in Indian restaurant style

Always buy firm fish, that looks and smells fresh, just like this.

Marinate the fish slices and let it sit for 30 minutes or more.

deep frying the fish

Flip and fry for one more minute


Enjoy crispy Vanjiram fish fry
Ingredients:
King fish - 2 slices  (300 gm)
turmeric powder - 1/2 tsp
salt - 1/4 tsp or more per slice
lemon - 1/4

Masala to grind:
Red chili powder - 1 tsp
coriander powder - 1 tsp
cumin - 1/4 tsp
shallot onion - 1
ginger - 3 cloves
garlic - 1 inch (small piece)
black pepper - 1 tsp
curry masala powder - 1/2 tsp

others:
Oil - to deep fry
sliced onion - to garnish
lemon - 1/4 (to sprinkle after frying)

Method:
Rinse the fish pieces. Mix turmeric powder, salt, lemon and apply over the fish slices. Keep aside. While the fish is marinating prepare the masala paste.
Put all the items given under masala in a small jar of Indian mixie. Pulse and grind. Then grind to a fine paste using 2 tbsp water.
Keep the fish slices on a plate and rub this masala paste on both sides. Marinate in room temperature for 30 minutes or keep the marinated fish slices in airtight container and marinate inside fridge for upto 24 hours (definitely not more than that).
This fish tastes better when served freshly fried, so start frying just before meal.
Heat oil in a shallow frying pan. Put the fish slice and fry in medium heat. Flip and fry both sides till crispy on outside and soft in inside.
Take out and place on serving platter.
Decorate with sliced onion. Sprinkle few drops of lemon juice for more flavor.
Restaurant style King fish fry is ready!

Serving suggestion:
Serve as side dish with fish curry and rice or biriyani or sambar rice.

Friday, January 22, 2016

Crispy green gram

Paasi payaru mixture / baked green gram / moong namkeen:

I am not sure what to name this , as this is one of the recipes I have tweaked after watching baked chickpeas in TV.  In Tamilnadu, they fry this green gram and add it to spicy mixture (namkeen).  Instead of deep frying, baking something with an Indian touch is more soothing for me.
I made this in two batches, one with cashews , curry leaves and more spices and another batch with lesser spices. Both tastes amazing. I stored this in a small jar and loved every bit of it along with tea in the evenings ☺.      
Hope you all enjoy this !
Baked green gram
Steps involved:
Soaked green gram

Soaked green gram with Indian spices

Bake at 350 for 25 - 30 min

Another way

baked green gram

Crispy baked green gram.

Ingredients:
Whole green gram - 1 1/2 cup
turmeric powder - 1/2 tsp
curry masala powder - 1/2 tsp
red chili powder - 1/2 tsp
lemon juice - from 1/4 fruit
salt - 3/4 tsp
olive oil / any oil - 3 tbsp (1 tbsp per 1/2 cup)
cashew - few (optional)
curry leaves - few (optional)

Method:
Rinse the green gram. Soak for 12 hours (overnight). Drain water. If interested let it sprout for 6 hours. Put it in a mixing bowl and add all the above said ingredients.
Preheat oven to 350 deg F for 5 minutes.
Line a baking tray with aluminum foil. Coat it with little oil.
Spread the green gram mix over the baking tray. Do not crowd (if needed use more baking trays than crowding, to ensure crispiness).
Bake for 20 minutes. Take out and stir using a spatula. Bake again for 10 more minutes or till the green gram turns crispy.
Cool completely and store in air tight containers.

Serving suggestion:
Serve as snack.

Monday, January 11, 2016

Cooker Pongal

Sarkarai Pongal, the sweetest part of the Pongal festival is an example of team effort in cooking. Though women are the sole responsibility for cooking in Tamilnadu, Pongal day cooking is for all at home. Sarkarai pongal is a dish that should be cooked in the front yard of a Tamil house on the Pongal day. On that day people used to get up as early as possible, and prepare this sweet rice before the Sun rises. I remember those days , how we all in our town used to decorate our houses with beautiful kolams (rangoli) on the night before Pongal. Those were the fun filled days and we would tie turmeric plants, sugarcane near the front door. Though we cook in a regular kitchen on all the days of the year, the Pongal day is a special one and we would put tastefully decorated clay stoves in the front yard of the house. Then using dried palm leaves, this Sarkarai pongal, Venn pongal, side dishes (see below) all would be prepared by the family members of the house and enjoyed throughout the day. So one can understand that Pongal is a family festival of Tamilians and celebrated to honor the farmers.

Then this festival spread from villages to cities and people started celebrating it with watching new movies, interesting TV programmes and by everything they like. The cooking part is also there, but with some modification.....the cooker pongal. I won't say all the cities are celebrating a quick pongal. I have seen elaborate traditional Pongal celebrations in villages surrounding Chennai. I think it is the responsibility of every parent to show their kids their tradition and should encourage them to celebrate the festivals. Traditional or not, Pongal is Pongal ! So go for it and enjoy !


Here I am narrating a very easy way to prepare this Sarkkarai pongal in cooker. Hope we all enjoy Pongal with all the abundance and prosperity, Happy Pongal !


Sarkarai Pongal
 Steps:
Boil the milk in cooker. It is a tradition to see the boiling milk on that day.
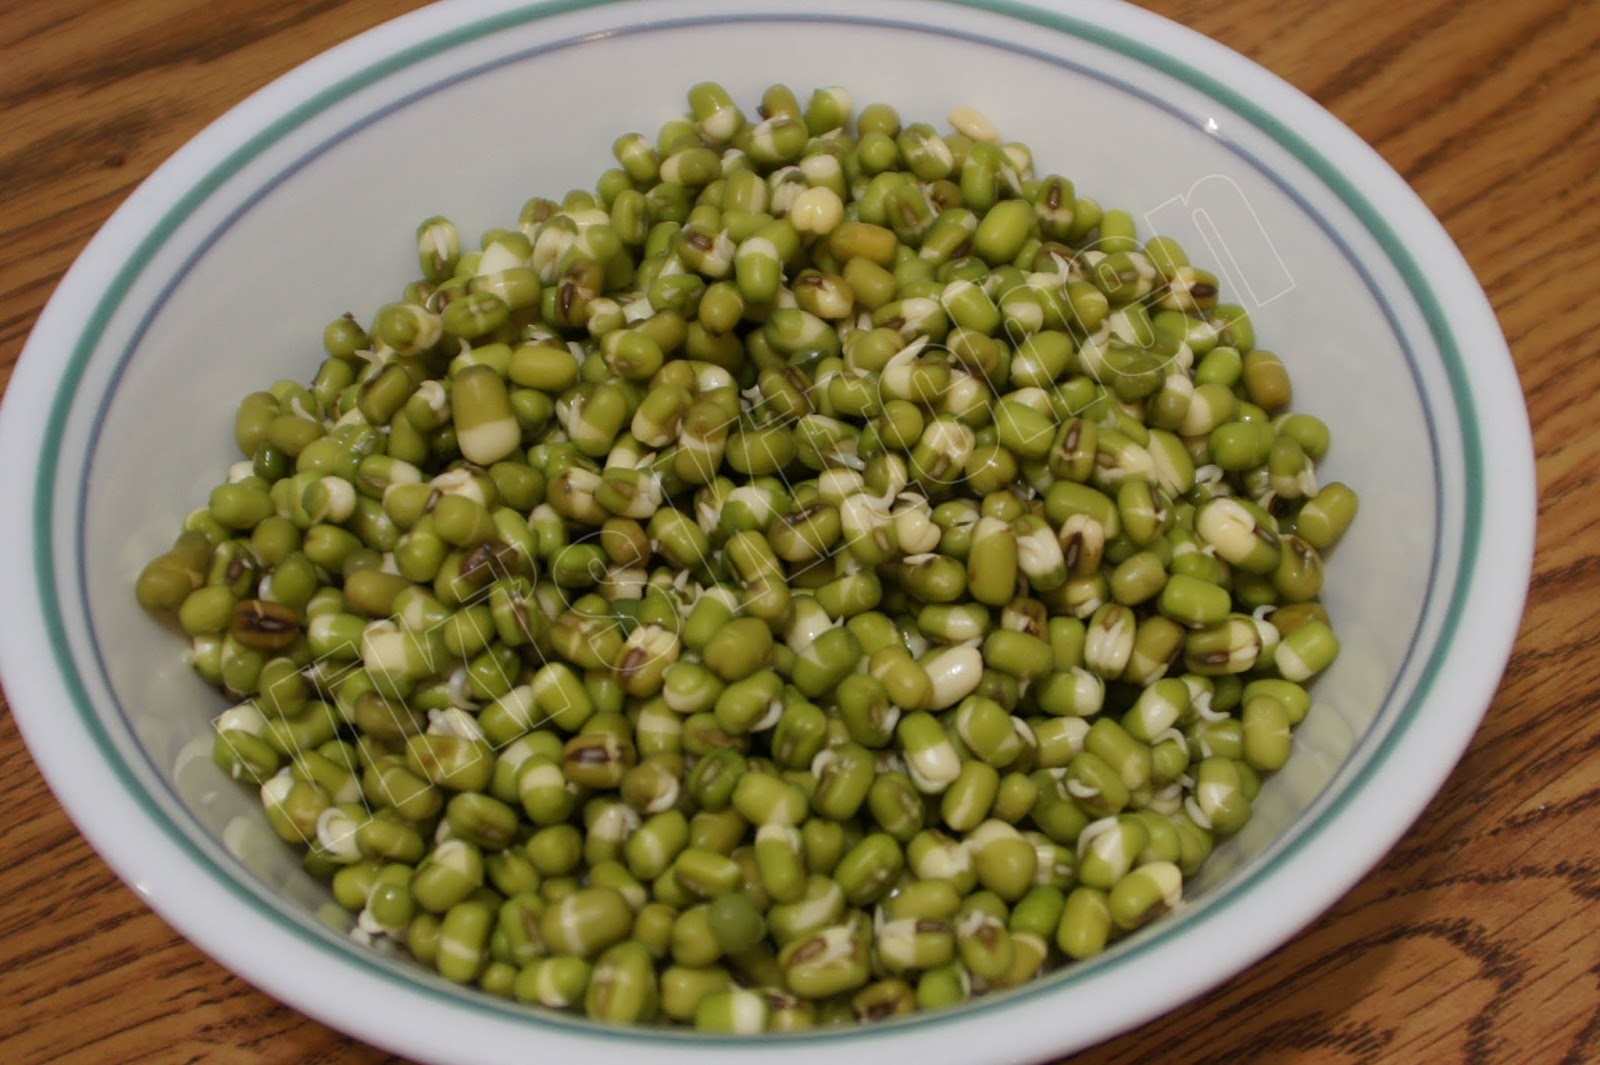
Cooked rice and dal

Add jaggery solution or crushed jaggery


Fry the cashews, raisins and keep aside.

Sarkarai pongal is ready!

Ingredients: (for 4 servings)
Raw rice (pacharisi)  or Basmati rice - 1 1/2 cup
green gram lentil (paasi paruppu)- 1/2 cup
whole milk - 1/2 liter
jaggery (Indian brown sugar ) - 1 1/2 cup
ghee -  1 tbsp
cashew - 10
raisins - 10
cardamom powder - 1 tsp
edible camphor (pachai karpooram) - a tiny pinch

Method:
1.In a wok , dry roast the green gram till it turns mild red and gives nice flavor. Take out.
Dry roast the rice to get it little puffy and bright white.
Put them both together and rinse well.
2. Boil the milk in cooker.
3. Put the rice+dhal in to the milk. Bring to one whistle and reduce flame. Cook for 5 minutes.
Switch off. Open after the pressure is released. Mash using a spatula.
4. Dissolve the jaggery and bring to a boil with 1/2 cup water. Strain and remove impurities. Add the jaggery solution to the boiling mixture. (If the jaggery is of very good quality without any sand in it, then we can add as shown in my photo). Add enough water to cover the rice. Cook with weight valve, in lowest heat for 5 minutes (no need for whistle).
5. In the mean time, heat the wok. Fry the cashews, raisins in ghee.
To the cooked pongal add the fried nuts and raisins, cardamom powder, edible camphor and mix well.
Sarkarai pongal is ready!

Serving suggestion:
Serve as breakfast on Pongal day.
Makes a dessert along with idli during a grand breakfast.

Other Pongal recipes :
Rich Sarkarai pongal
Sarkarai pongal
Pongal avial
Pongal puLi curry
Venn pongal 
Ketti paruppu

Wishing all a very happy and prosperous Pongal,


Pongal Greetings, pongal graphics, pongal cards

GoodLightscraps.com


Orkut Scraps Pongal


May this Pongal festival brings peace, good health, success, cheer, prosperity and every happiness we wish for.
Happy Pongal! Love, Viki Xavier

Tomato rice in Briyani Flavor

Tomato rice in home style was the first tomato rice we all used to take to school (in my childhood). Then afterwards it was jazzed up by our...