Thursday, April 28, 2011

Lemon pickle

I never thought of preparing a big batch of pickle at home, as hubby always buys many kinds of pickles from the Indian grocery stores and moreover I am not a big fan of store bought pickles. I used to prepare a small quantity of lemon pickle and finish off soon. I was kind of afraid to make that big batch of lemon pickles at home because of lesser Sunlight.
Then one fine day, I prepared this lemon pickle last year after talking with a friend (Mrs.Aruna Satya). She said that her mom made it for her without sun-drying and I got that clue and wanted to try immediately. I couldn't follow her recipe, as I wanted to prepare my mother's special oil-less Lemon pickle recipe, which I had enjoyed so much. Mom used to make this lemon pickle using our home grown lemons. We had a big 'Malta lime' tree in the backyard and that tree would yield sacks of bigger lemon and we would enjoy them as lemonade, lemon rice, leaf podi and pickles along with our neighbors. At that time mom would make extremely big batches of these pickles for our aunts and family friends. I tried her recipe while living in Madras and it was so good. Here I added a few drops of vinegar to the same as I need to keep them for a long time. It was a wonderful process and I enjoyed that fresh lemon smell all over the house for days together. I am more delighted to see my hubby checking it everyday, if it has soaked or not, just like a kid:) From then on, hubby stopped buying pickles from the stores and I am happy with the oil-less home made pickle:)


Ingredients: (see the process for measurement)
Lemon -
sea salt (கல் உப்பு) -
red chilly powder -
mustard / kadugu- 1 tbsp (for 5 lemons)
fenugreek / methi/ venthayam - 1/2 tbsp (for 5 lemons)
green chillies - 2 chillies for 1 lemon

Method:
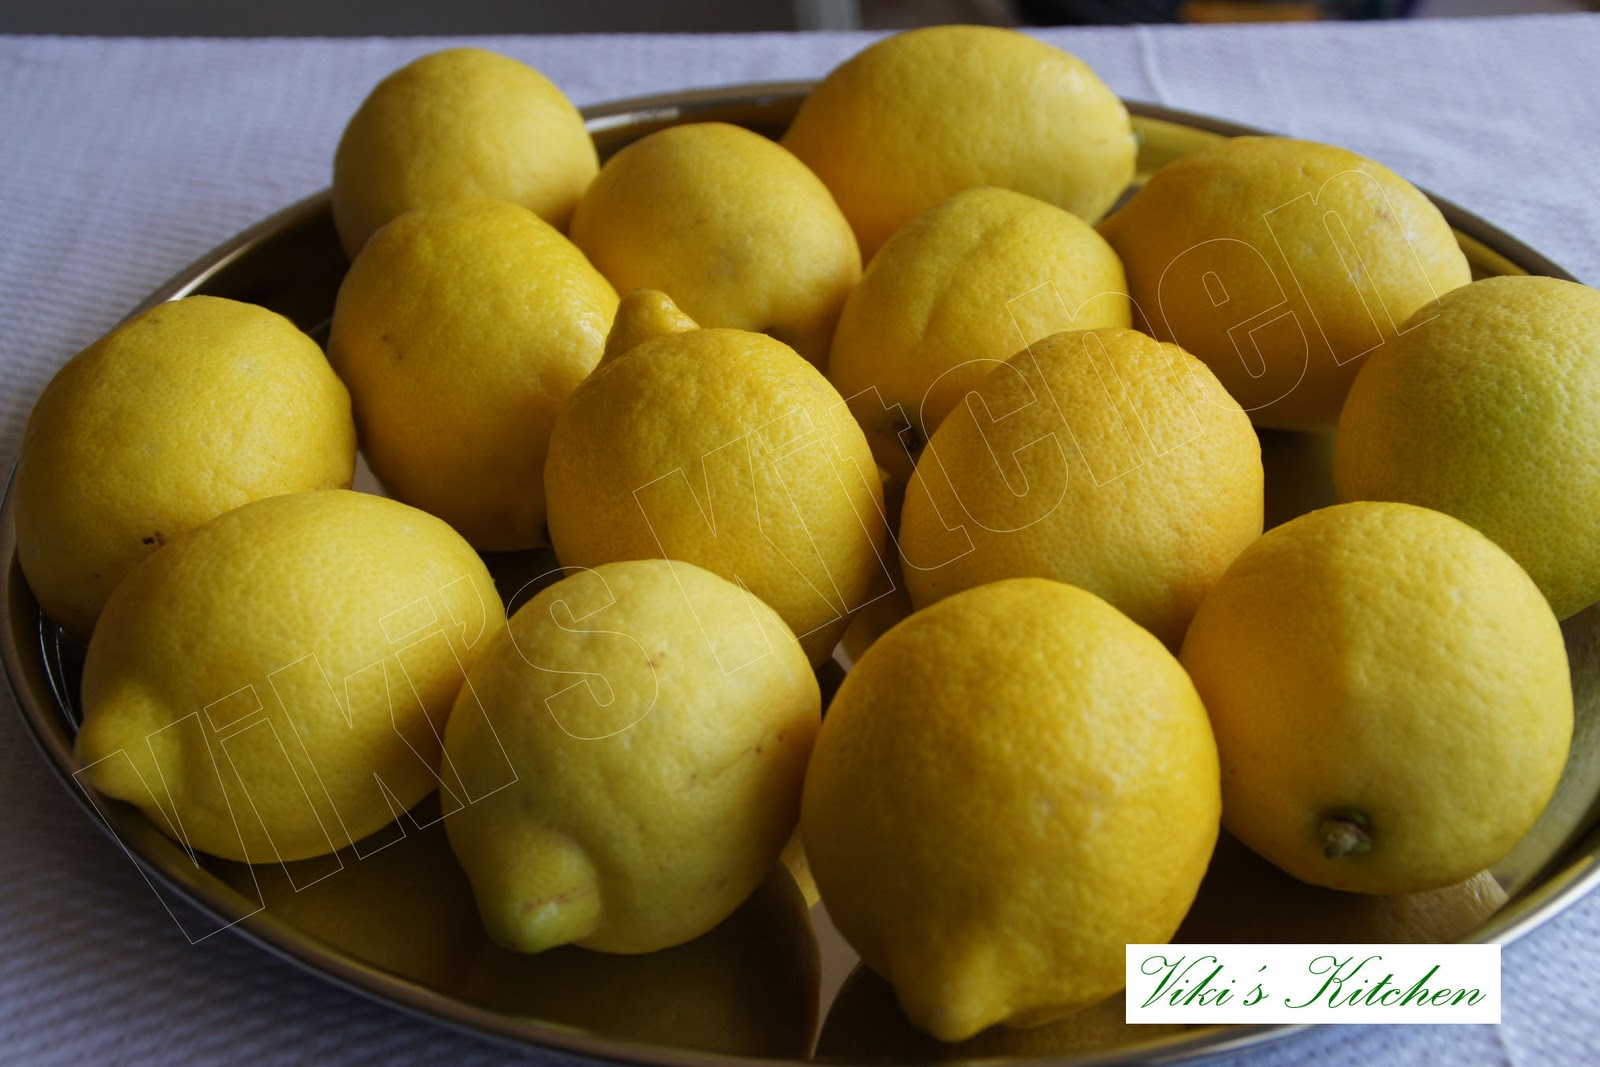
Wash the lemons, green chillies and pat dry.  Do this in the evening and let it dry overnight. Then in the morning, cut the lemon into 1.5 inch size triangular pieces or squares and slit the chillies.

Measure the  pieces using a dry tumbler / cup. Add salt to the lemon. (sea salt: lemon - 1:4), (1:6 for fine table salt: lemon). Mix the lemon, salt, chillies by shaking well. Keep the mixture in a porcelain jar (china clay jaadi). keep it under hot sun for from morning to evening, without closing the lid. Take care that no sand or dirt falls on it. we can place a mesh cover or tie a fine muslin cloth over the vessel too. In the evening shake it well and bring inside home and keep it closed after it cools down.
Repeat placing under hot sun for 2 more days.
Now the pickles could have turned a little pale and started soaking.

Take dry red chilly powder in ratio, chilly powder: lemon measure= 1 : 5.

On the 4th day dry roast the mustard till it cracks. Dry roast the fenugreek (venthayam / methi) till it turns red and flavorful. Powder them together.
Add the chilly powder, mustard, methi powder to the soaked pickle and mix well with a clean dry spatula. Keep in sunlight for the whole day . Close the lid portion by tying a muslin cloth (prevents drying of pickle) and place the porcelain lid over it . Then store it in a clean dry shelf. Never touch the pickles by hand, as we may need to keep the pickle safely for an year.

How to make the lemon pickle in colder countries?
As we can't allow the pickle to soak under Sun in colder countries, add 1/2 tsp of vinegar to every cup of chopped lemon and place the container open inside the house. Let them soak for 2 days and on the 3rd day add the powders and keep them open for 2 more days. Stir every evening and on the 4 th day , store it in an air tight container and preserve safely as instructed above.

Serving suggestions:
This pickle will remain good in the room temperature for many years, if handled with care.
Adding green chillies is optional only.
This pickle can be used without tempering also. But if needed, take the required amount of pickle for a week and keep aside. Heat 2 tbsp sesame oil in a dry wok and splutter a tsp of mustard seeds, the add a tbsp of channa dhal, curry leaves and pour over the pickle.
Serve with any rice or roti.

Monday, April 25, 2011

Chicken Tikka masala

Chicken Tikka masala is an Indian dish much favored by all who can't take the heat of other Indian dishes. In restaurants they make it with a little sweetish touch to satisfy the customers. I have narrated a basic Indian Tikka recipe here. This recipe is a good option for dieters who are eager to reduce the frying process and looking for some 'side dish for chapathi'.


Chicken tikka.
chicken tikka - Indian grilled chicken

Tikka masala - Chicken tikka in gravy.

Ingredients:

(For Tikka)
Boneless chicken - 1 lb (1/2 kg)
Red chilly powder - 1 tbsp
salt - 1 tbsp
thick Indian yogurt - 1/2 cup
oil / butter - 2 tbsp  (optional)
turmeric - 1 tsp
ginger garlic paste - 1 tbsp

(Gravy / Masala)
Tomato - 5
(or) tomato puree - 1 cup
onion (chopped)- 1 cup
bay leaf - 2
cinnamon - 2 inch
garam masala powder - 1 tbsp
red chilly powder - 1 tbsp
cumin powder - 1 tsp
cashew / almond - 5
oil / butter - 1 tsp
ginger garlic paste - 1 tbsp
salt - as per taste.

Method:
Wash and clean the meat. Cut chicken into 1.5 inch size cubes.
Blend the masalas listed under Tikka together in a mixing bowl.
Keep the chicken pieces marinated in that masala for 1 hour (room temp.) or overnight inside the refrigerator.

Soak the bamboo skewers in water more than 1 hour.

Thread the pieces in the skewer with a little spacing. Bake them in oven at 350 deg C for 20 mins one side. Then flip and bake for 10 mins. Then broil it both sides.
(Instead the pieces can be grilled or deep fried also).

Take out and remove from skewers. Keep aside.

Chicken tikka is ready!

We can serve them simply as a snack or side dish or stuffing inside chapati rolls,  without the gravy.

Tikka masala:
Saute the onion in very little oil till it gets golden brown. Keep aside.
(We can mw or boil the onions in 1/4 cup of water instead).
Boil the chopped tomatoes with 1/4 cup water.
Let them cool and grind along with cashews.
Heat 1 tsp oil in a wok. Put the bay leaves, cinnamon stick . Then add the ginger garlic paste, stir well and add the ground masala. Add any left over marination too.
Put the red chilly powder, garam masala, salt, cumin powder, turmeric powder and close with a lid. Let them boil in minimum heat till the raw smell vanishes.
Then finally add the chicken tikka and mix well. Switch off after the gravy gets thick.
Garnish with finely chopped cilantro + mint leaves.

Chicken tikka masala is ready!

Serving suggestions:
Serve as side dish with chapathi / roti/ parotta.
Goes well with cumin rice or any pulav.

Note:
We can reduce the oil content in this recipe and we won't see much difference.
We can add a tbsp of sugar to the masala and reduce the chilly powder, if the guest can't take the hot chilly taste.

Sunday, April 17, 2011

Easter Greetings !

Wishing all my readers and friends a blessed Holy week and a Joyful Easter.


(Image courtesy : 'Graphics fairy'. Thank you my fairy! ).

May all the prayers be answered
and everyone feels the Lord's presence
on Easter and always
Wishing all a Peaceful and Blessed Easter.

Enjoy and have lots of fun!

Wednesday, April 13, 2011

Thengai paal payasam (coconut milk kheer)

Wishing all my friends and readers a bright and prosperous , Happy Tamil New year! The Tamil month Chithirai starts on April 14 and it is celebrated by Tamil people as the beginning of Tamil New year. The name of this new year is 'Kara' year.

Let's start the new year with a milky white payasam made of coconut.

We have some coconut trees in my  father's house. I cannot remember us buying coconut from shops in those days. Mom would arrange a man to pluck all the matured coconuts in a regular time interval and the tender coconuts go as snack for us:) One fine day, mom's friend Mrs.Noohu aunty visited us and she taught us to make coconut kheer. Aunty used to say it as 'paachoru' (paal choru means milk+rice). Our maid scrapped lot of coconuts and we made a big batch of this kheer for all of us (Ours , Aunty's, my friend's and maid's family). It was so delicious that I have never tasted anything like that before:) Now we need not struggle much....just open a can of coconut milk and ta...da...the kheer is ready! I tried to bring out her's and it was 90% success. My rice started to get cooked, but her's was firm and bit chewy, which is the correct stage. Anyways recording the recipe for my future reference.


Ingredients:
Coconut - 1 (small)
(or) coconut milk - 1 cup thick + 1 cup thin.
basmati rice - 1 cup
sugar - 1 cup
rose essence - 2 drops
almond, cashew - few.

Method:
Extract milk from coconut using 2 cups of water. Shred the coconut. Divide the water into 3 parts and extract thrice. Keep the first extract (thick milk) separate. keep the thin milks together.
Wash the basmati rice and drain water completely.
Boil sugar to get a 2 string consistency. Add the rice and stir carefully. After a few minutes add the thin milk and cook the rice. The rice will get cooked and become chewy but not mushy, because of the sugar syrup. This is the correct stage. At the same time it may become thick and start leaving the edges. Put the chopped cashew, slivered almonds and mix well. Pour the thick milk and stir again to get a thicker consistency, and switch off before the rice gets soft.
After switching off add a drop of rose essence.
coconut milk payasam is ready!

Serving suggestion:
Serve warm or chilled as dessert.
Prepare 1/5 of the above quantity for 2 people.

Tuesday, April 12, 2011

Awards and a me-me:)


Deepa of Hamaree Rasoi and Sonali Pradhan of Only fish recipes have presented me the following awards. Thank you friends!. I am excited to get these bunch of awards and I am honored.


That lovely package includes a me-me too. I have to say seven facts about me. Click here to read more about me.
7 facts about me:

1.Basically I am a happy person. I thank God for everything I get and thoroughly enjoy whatever I do i.e., from vegetable chopping to laundry:) I strongly believe in God's protection and respect all others beliefs too.

2.Talking with my relatives over phone is a great entertainment / moral support for me. I like to get updates from my entire family frequently. I consider each and every person I meet as a book and try to learn something good from them. This helps me a lot.

3.I get satisfied with simple foods. But this blog is helping me to cook more varieties.  Though I have been enjoying the culinary art from my early teens, my skills got polished only after starting this blog and by my audience's comments. I enjoy reading other food blogger's anecdotes / story behind that recipe.

4.I like to cook colorful foods like Hyderabadi biryani, chaat items,  raitha (Indian yogurt salad) etc. Traditional Indian cooking fascinates me much. Buying cook-books, cooking utensils / tools is my favorite.

5.I like listening to melodies and Tamil movie songs. I prefer hearing the songs than watching the videos. Walking 1 hour a day is a must for me. Sewing is my new craze.

6. I love perfumes,room freshener, agarbathis, potpourris that smells like roses or sandal or flowery. Roses, jasmine, blue hydrangeas, Lilly, lotus (there is a long list) are my favorite flowers:) Recently I bought a dry flower art/ painting and I adore it. Even watching the flower 'images' in Google makes me high:)

7.Friday nights are my best favorite time. Mostly We enjoy our weekends sitting inside our house:) with some English movies along with pizza, popcorn, coke:)

I am happy to share my awards with the following friends.
Divya, Ciccia,Bhuvaneshwari Ramanathan, Jaleela Kamal, Swathi, Priya, Tina, Chitra Sendhil, Panchpakwan, Kala , Valar Siva.

Friends! Please accept this and I am eagerly waiting to read about you all. Thank You!

Congrats dearies!

Others bloggers or not : If you have some interesting facts to share about you, please feel free  and start writing about you (in your blog or in my comment section). I will publish it for you.  Anyways blog is where we can enjoy writing all about us and here is me waiting to hear from you:)

Saturday, April 9, 2011

Urulai kilangu Podimass

Indian style mashed potato / Urulai kizhangu puttu / podimass.

Most of my foods carry a lot of happy memories and I think I am reeling with those pleasant memories to make  the food more homely:)
Till few years ago in my native, relatives and friends were encouraged to drop by any time, day or night, without any prior information. The lady of the house and the kids never shy to welcome them. While the hostess getting busy with cooking, the kids engaging the visitor's children, the man of the house would prepare the bed for them to take rest after that tiring travel. Those scenes are becoming history nowadays. Thanks to the Television and media, normal human interaction is vanishing even from the face of Indian villages. People have to call even before knocking the next door :)  Anyways changes are also good, as many like it this way, because of the over stressed life style. Nowadays we people are blessed with so many Instant foods, refrigerator and restaurants. So we  need not panic if at all we get some guests. But a generation ago they have to keep some non perishables vegetables handy to cater the surprise guests. Potato is one among them. They sit fresh for a week....We can boil it in minutes....a quick sambar, piping hot rice along with some fried papads and this potato podimass would be a great treat to late night guests.
Here are two varieties of potato podimass / potato puttu, which mom used to fix for surprise guests.

Potato red podimass:


Ingredients:
Potato - 200 gm (3)
onion (finely chopped) - 1/2 cup
oil - 1 tbsp
red chilly powder - 1 tsp
salt - to taste
cumin - 1/2 tsp
ginger (chopped) - 1 tbsp
mustard - 1/2 tsp
split urid dhal - 1 tsp
curry leaf - 1 sprig.

Method:
Boil / pressure cook (3 whistle), the potato and put them in cold water.
Peel the skin and mash with salt, red chilly powder, cumin. Keep aside.
Heat oil in a wok.Add the mustard and urid dhal. After the mustard crackles, add the chopped onion, ginger , curry leaf and stir for a minute. No need to brown the onion. Immediately add the mashed potato and stir well for 2 minutes.
Switch off. Urulai kilangu puttu / podimas is ready!

                                           ~ ~ ~ ~ ~ ~ ~ ~ ~ ~ ~ ~ ~

Potato white podimass:

Ingredients:
Potato - 200 gm (3)
onion (finely chopped) - 1/2 cup
oil - 1 tbsp
green chilly (finely chopped) - 3
salt - to taste
cumin - 1/2 tsp
ginger (chopped) - 1 tbsp
mustard - 1/2 tsp
split urid dhal - 1 tsp
curry leaf - 1 sprig.
shredded coconut - 2 tbsp

Method:
Boil / pressure cook (3 whistle), the potato and put them in cold water.
Peel the skin and mash with salt, cumin. Keep aside.
Heat oil in a wok.Add the mustard and urid dhal. After the mustard crackles, add the chopped onion, ginger, curry leaf, green chillies and stir for a minute. No need to brown the onion.
Immediately add the mashed potato and stir well for 2 minutes, so that we get a fine scrambled effect. Add freshly shredded coconut and mix well.
Switch off. Urulai kilangu puttu / podimas is ready!

Serving suggestions:
Makes 4 servings.
Serve as side dish with any rice or roti.
The left over can be used as stuffing in masala dosa , aloo paratha, samosa, chaat items etc (with little seasoning).

Friday, April 8, 2011

Sarkkarai Pongal (Rich)

I am always curious to know how they make that 'ghee dripping sweet pongal' in Hindu Temples, that are so glossy. This is the major dish prepared for Indian Pongal festival (farmer's harvest festival) and for thanking cows (mattu pongal).Then I learned from my friends that they do it with LOADS of milk + ghee and its different from the usual sarkkarai pongal I do for Pongal. Mom used to do a closer version with lots of milk. But after marriage, my friend Sundari's mom sent me a big pack of this pongal wrapped in banana leaf .....dripping in ghee on a Pongal day. Those days were golden....It was almost like a halwa and I can always remember  that taste. I took it as a baseline and tried to create that 'creamy rich ghee dripping sweet pongal' in our house with the tips from her mom. This will give a closer taste to 'Kovil chakkara pongal'.  I remember Sundari's mom's pongal  and those festivals whenever I make this dish and thank her silently for this wonderful recipe.


Ingredients:
Raw rice / Basmati rice - 3/4 cup
(Raw rice - Pacharisi in tamil)
green gram lentil (paasi paruppu)- 1/4 cup
condensed milk - 6 tbsp
whole milk - 3/4 liter
jaggery (Indian brown sugar ) - 1/2 cup
sugar crystals (kalkandu) - 1/2 cup
ghee - 1/2 cup + 1 tbsp
cashew - 15
raisins - 15
cardamom powder - 1/4 tsp
edible camphor (pachai karpooram) - a tiny pinch

Method:
Dry roast the green gram till it turns mild red and gives nice flavor. Take out.
Dry roast the rice to get it little puffy and bright white.
Put them both together and wash thoroughly thrice.

Put the rice+dhal in a thick bottom vessel(vengala paanai) . (I used my thick bottom deep kadai). Add enough milk to immerse the contents and start cooking. Go on adding milk till the rice and dhal get mushy.
(We can cook it in pressure cooker also. But I am not sure of that)

Dissolve the jaggery and bring to a boil with 1/2 cup water. Strain and remove impurities. Add the jaggery solution to the boiling mixture.
Put required sugar crystals and start stirring, so that the bottom won't darken. Keep it in medium flame.
(We can do the entire pongal with jaggery alone. But sometimes the old jaggeries, that we get normally will impart a salty taste and dark color. If we can get a light color new jaggery, then we can add it without sugar crystals/ sugar).

Then add the condensed milk, cardamom powder, ghee and stir till the pudding/ pongal starts slightly thicker and it will resemble halwa. The pudding will start leaving the edges.
(If condensed milk is not available then use 1.5 liters of milk or few tbsp of milk powder and cook everything till the pongal gets thick....the idea is to include loads of milk:)  ).

In a separate wok, heat a tbsp of ghee. Fry and add the cashews and raisins.  Before switching off add the pachai karpooram and give it a good stir. Switch off.
Place a plantain leaf in a container and pour the pongal over it to get that authentic flavor. Sakkarai pongal is ready!

Serving suggestions:
Serve as dessert in small cups.
Serve this 'creamy rich sakkarai pongal' piping hot on small plantain leaves.

Tomato rice in Briyani Flavor

Tomato rice in home style was the first tomato rice we all used to take to school (in my childhood). Then afterwards it was jazzed up by our...