Wednesday, December 24, 2014

Wednesday, December 10, 2014

Masala tea and homemade tea masala powder

Hi Friends ! How are you all ? I am very glad to blog again after a few months.

India is famous for its chaai (tea ) varieties. Indian teas are quite different from any other countries'. It is usually prepared with more milk (see recipe below). We make many teas like mint tea, ginger tea, cardamom tea etc. Most of the teas are made with fresh ingredients by grinding them. But keeping a masala for chaai at hand will make our job easier.  Here is one Tea masala recipe for this cold weather. I make this tea masala powder in small batches and keep them in freezer  to preserve the fresh smell.  I find it as aromatic as any famous store brand. Hope you all love my version and enjoy a cup of tea with me :)
Home made tea masala
Spicy masala tea ! My every morning happiness is putting a flask full of masala tea in his office bag :)

My new collection....cute Indian tea cups. Bought this in a nearby Indian grocer shop for $12. (2013)

Have  a look !

Ingredients:
Cardamom seeds - 1 tbsp
cloves - 1 tbsp
cinnamon -1 full roll
star anise  - 2
ginger powder - 8 tbsp
bay leaf - 2
black pepper - 1 tbsp

Method:
Dry roast all items one by one (except ginger powder) in medium heat without browning.  Let cool and grind to a fine powder in an Indian mixer. Store in airtight container and for more freshness, keep this masala refrigerated.

Indian masala Tea recipe: (2 cups)
Milk (2% or low fat) - 1 cup
water - 1 1/4 cup
sugar - 4 tsp
Indian black tea powder (or leaves) - 2 tsp
tea masala powder - 1 tsp

Method:
Bring water to  a rolling boil. Add tea powder and it will give  a reddish brown decoction immediately.  Then add boiled milk , sugar and tea powder. Bring it to  a boil and switch off. Filter immediately and pour into tea cups.
Serve immediately!
Microwave version : Put everything in the recipe together in a microwave safe bowl and cook for 3 minutes. Filter and serve. (Personally the stove top method is my favorite).

Note:
Some times I use my 'All spice powder', which I use for cake preparation also to make tea. Here is the basic ingredients for that.

All spice powder
Cinnamon - 2 roll
cardamom - 1 tbsp
cloves - 1 tbsp
nutmeg - 1/4
mace - 1
cumin - 1 tbsp
black pepper - 1 tbsp
ginger powder - 1/2 cup

Dry roast (everything except ginger powder) and grind and enjoy another version of masala chaai.  Add some fresh mint leaves while making tea for more flavor.

Friday, October 3, 2014

Nei payasam

 Nei means Ghee, Payasam is a kind of kheer. This is a payasam from Kerala and it is known for its extreme sweet taste and ghee. This is prepared during pooja days as offering.
In my father's house, this payasam is prepared during Navaratri and offer as neivedyam to our family Goddess. We add more bananas and little raw rice in this recipe, while the traditional Kerala Nei payasam will have rice only.  I like the original version also very much. Hubby dear asked me to prepare this payasam as he still remembers that unique payasam from his elder brother's wedding:) So I made this super sweet payasam in the traditional manner. Try this and enjoy !
Ghee rich very sweet thick payasam.

Ingredients:
Raw rice or basmati rice - 1 cup
ghee - 1/2 cup
jaggery - 2 cup
cardamom , dry ginger powders - 1/2 tsp each
sliced coconut - 1/2 cup
cashew , raisin - few.
Banana - 1 (optional)

Method:
Cook the rice in a heavy bottom vessel (stove top) with 2 - 3 cups of water. After water comes to boil, add chopped banana. Wait till the rice gets cooked.  It should not be mushy.
In the meantime dissolve the jaggery in 1 cup water and bring it to a thick stage. Pour the clean jaggery solution (leaving behind the sediments) to cooked rice. Stir till it becomes thick . Fry the coconut pieces, cashew, raisin in ghee. Pour ghee, fried items, powders mentioned and mix well. Stir and cook till the dessert leaves the edges.
Time taken : almost 1 hour.
Nei payasam is ready!

Serving suggestion:
Serve as dessert.

Happy Vijaya Dasami to you all !

Thanks to this free images link !


Tuesday, September 23, 2014

Pillow soft idli and party menu

Making an idli successfully is every Indian ladies' wish. That too the malligaipoo idli of Tamilnadu needs a perfect recipe, quality ingredients, weather and more importantly a wet grinder.  But most of us who search for a good idli recipe for pillow soft diamond white idli are from abroad or cities. I am using a Preethi mixie for making idli batter (not wet grinder).  Earlier my idlies would come out good on one day and sometimes different. Then recently I got this recipe from my chithi and it works best for me any day. After that it became everybody's favorite party food in my house and my three idli plates were not enough :) Then hubby bought me a another set of  idli plates also:) I am sure you are all gonna love this too

Here are some tips for making mallipoo idly:
*Find a best quality idli rice that works for you. For me it is Laxmi brand always.  I had tried with ponni parboiled rice and it works too, but we believe in idli rice for generations:)
* urid dal should be the white whole urid dal. Fresh split black urid dal is  the one we had used for long time as we get that free from our land. So we are sure of its age :)  But this white is better, as it gives more batter like fresh dal.
*Coarse sea salt or fine sea salt gives more flavor.
* Use any raw rice or raw basmati rice.
*Always rinse the rice 3 to 4 times in tap water or till water runs clear. This ensures pearl white idli.
*Never use baking soda for idli. This plain batter is must for white color idli.
* Always mix the idli batter using hand before fermentation. After the batter gets fermented, we can use spoon to handle it.
* Both grinder and mixie can give the same results. Use Indian mixies or grinders only for making this batter, as blenders may vary in quality.
* I grind the batter to a fine texture for both idly and dosa. But many people make a coarse batter for idly and fine one for dosa, which is also good.
* I recommend preparing idly on the first two days and using the same batter for dosai from then on. The batter stays good inside fridge for a week.
*After grinding the idli batter, mix with hand and divide it into three containers and let it ferment. By this way , we can make soft idli every day.
*In colder regions: prepare the batter and immediately keep inside an oven. If there is pilot flame (conventional gas oven), then the batter will become fluffy and double within 8 hours.
* If there is no pilot flame (electric ignition oven), then heat the oven to 200 deg C for 5 minutes, switch off  and keep the batter. Also in this oven during very cold winters: maintain the temperature by keeping a large pot of hot water inside the oven and change it once in 4 hours ☺☺
* While making sambar for guests or parties, always temper it with ghee only and add some jaggery , fresh cilantro before switching off.

I am sure this will make your guests call you as idly queen :)

Soft idly with murungakkai sambar


Pillow soft idly with malli chutney. Home stye !

My favorite Idli plate (this type won't have holes in each dent and so no need to spread an idli cloth).
Ingredients: (Using mixie / mixer / blender)
Idli rice - 4 cups
raw rice - 3/4 cup
urid dal - 1 cup + 2 tbsp
methi seed (venthayam) - 1 tbsp
fine sea salt - 1 tsp / cup  (here 6 tsp)
we can use coarse sea salt too (but measurement may vary).

Ingredients: (using grinder )
Idli rice - 6 cups
urid dal - 1 cup (if urid dal is of high quality, which yield more fluffy batter. If not so, then use 1 1/4 cup urid dal)
methi seed (venthayam) - 1 tbsp
fine sea salt - 1 tsp / cup  (here 6 tsp)
we can use coarse sea salt too (but measurement may vary).

Method:
Soak idli rice, methi and raw rice together for 4 - 5 hours in normal weather. (over night soaking can be done for subzero winters).
Soak  urid dal for 1 hour (definitely not more than that).
First grind the urid dal using cold water to a fluffy fine texture.
Grind the rice along with salt to a fine texture (or medium coarse texture).
In a large mixing bowl, mix all the batters together. Mix vigorously with hand , so that both mixes very well. Keep on mixing for at least 2 minutes.
Divide it into three portions and store separately. Fill the containers to 1/4 or 1/2 only, as the batter will rise during fermentation.
Keep in a warm place (see tips above) and let it ferment for 8 hours or overnight.
Then take one container and keep all others in fridge.
Before pouring for idli, mix very very gently twice using a mixing spoon. Don't mix too much.
Grease an idli plate, with very little drop of ghee or sesame oil.
Scoop idli batter and fill each dent up to 3/4 full.
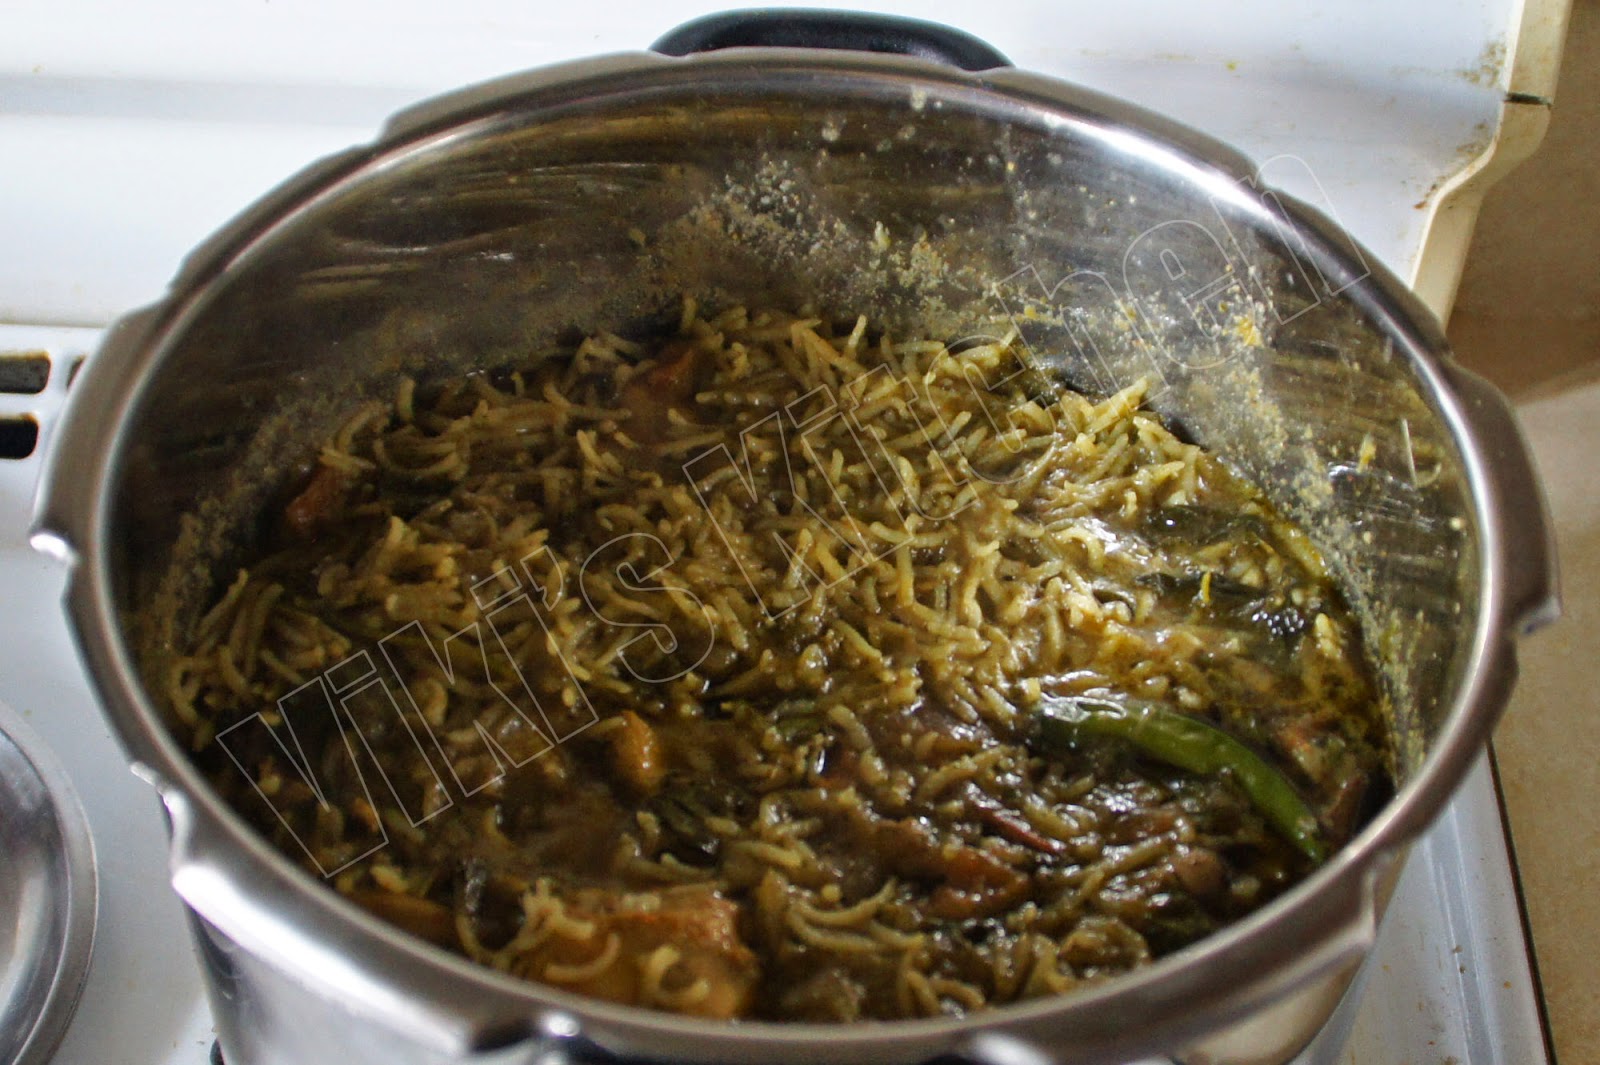
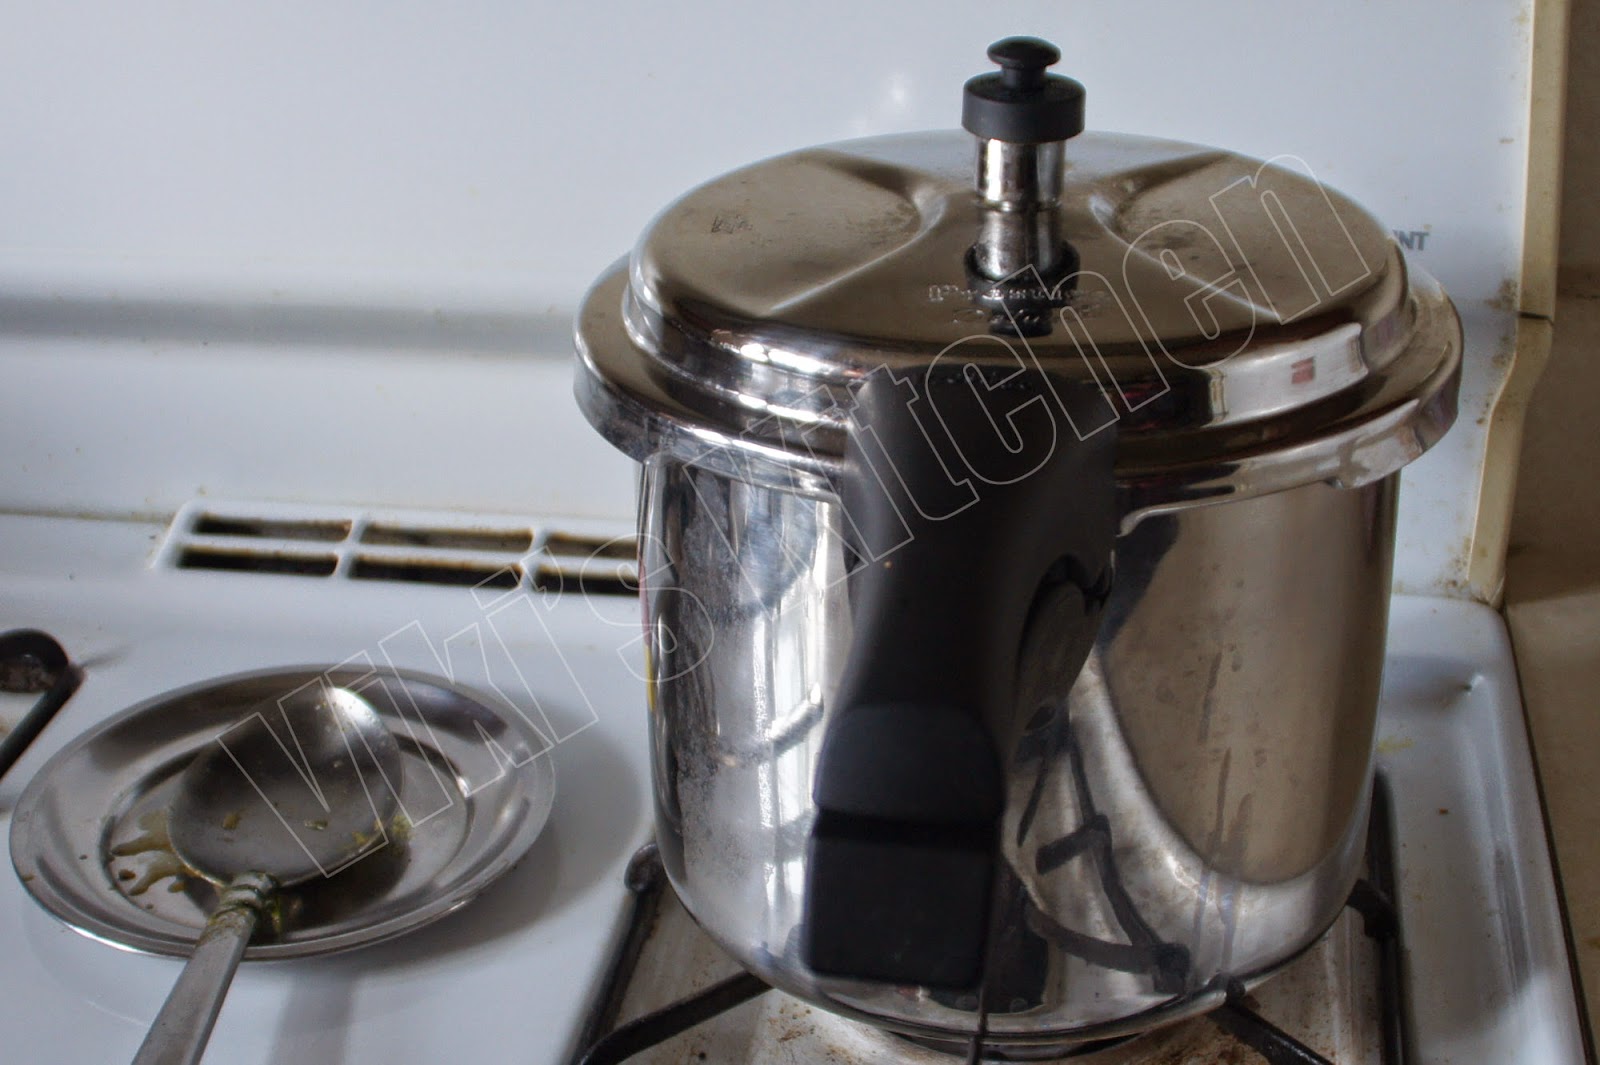
Keep the idli stand inside pressure cooker and steam cook for 8-10 minutes without putting weight valve.
Take out and scoop out the steamed idlie, when they are still hot.
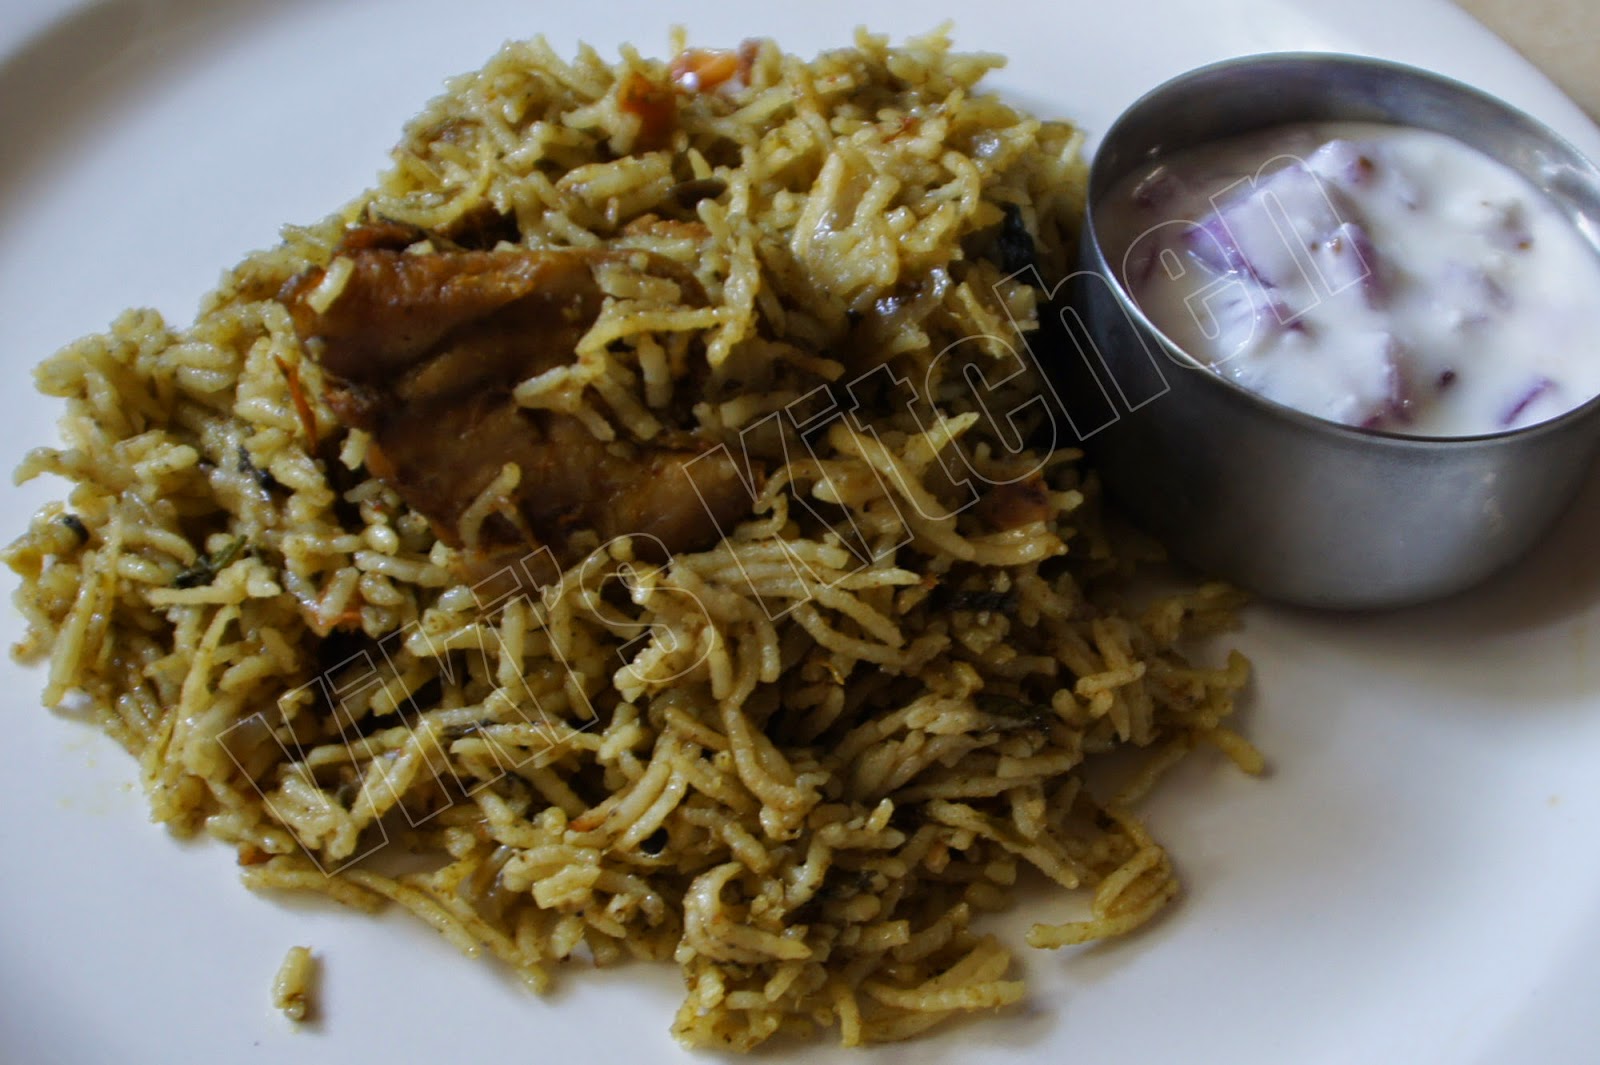
Soft idli is ready!

Serving suggestions:
Serve with any chutney or vengaya sambar or idli podi.

How to plan for an easy party with idly batter?
Recently we hosted a party in our house. Here is my menu plan for an easy vegetarian get together or dinner for 10 people. I didn't take any pictures (I should have....) ☺

Prepare 30 - 40 idli, just an hour or two before party. Microwave this and close tightly (steam makes it more soft), before bringing to dinning table. If possible prepare the idli just before serving, as it is  the most authentic version, but I do this to make it easy.
Serve a simple snack or appetizer like onion bajji. We can prepare the bajji batter almost a day ahead and keep in fridge. Don't mix onions ahead. Start frying the favorite bajji just before party starts.
While the guests are enjoying the idli, start making crispy masal dosa with ghee.
Make sambar and potato masala filling one day ahead or in early morning. keep in fridge. We can garnish the sambar later.
But always make the coconut chutney as fresh as possible (within 2-4 hours in cold regions).
Serve the idli in bowls and top it with sambar (North Indian version) or in plate and pour sambar, chutney over it (South Indian version).Keep spoons handy.
For dessert, prepare ahead some ice cream or rava kesari or just a store bought icecream. I served kulfi icecream , which I prepared in excess while making for hubby's office party.
Though this party menu may look elaborate, it is not tiresome, if planned properly.

Thursday, September 18, 2014

Spicy buttermilk

Recently we went to a restaurant called Mirchi near our house. The specialty in that restaurant is its buffet with various briyanies and a wide selection of Andhra food. After enjoying the splendid buffet, I could see a crowd near the dessert buffet corner and went near it. There I saw many guests filling their tall glasses with a buttermilk. At first I thought it was simply some buttermilk and didn't bother to take some (as I make it often at home). But hubby dear took that and told me to taste it, as it is something beyond our regular buttermilk:) I tasted it and loved it very much. I could imagine all the ingredients. So after that day, I am preparing this buttermilk in the same proportion and serving it as chill as possible. It tastes exactly the same and we both like it very much.
Spicy buttermilk after an yummy lunch makes our day more special:)

Prepare this buttermilk early morning during summer and enjoy this whole day

Ingredients: 
Indian curd (desi yogurt) -  1.5  cups
sea salt - to taste
ginger - 1 inch
green chilly - 1
cilantro - few
cumin - 1 tsp
curry leaves - few
ice cold water - 4 cups

Method:
Peel ginger. Grind ginger, green chilly, cumin to a fine paste.
Beat the yogurt creamy with salt.
Add the prepared ginger paste.
Finely chop cilantro and curry leaves.
Mix well. Add enough cool water and few ice cubes.
Spicy buttermilk is ready !

Serving suggestion:
We can serve this buttermilk after a simple chapthi meal or with any grand lunch.
Makes a good drink during summer.

Wednesday, September 10, 2014

Keerai paniyaram

Keerai paniyaram / spinach paniyaram. Paniyaram (appey / puff panakes) are very native South Indian dishes. We can make n number of varieties using the same batter. Sometimes I prepare the paniyaram batter itself from scratch (which is a successful method always). But using leftover dosa batter is a handy method too. Try this with any kind of greens we get and I am sure you are all going to love this.
Keerai paniyaram with kara chutney.


Ingredients:
thick dosa batter - 1 cup
besan flour - 1 tbsp
baking soda - 1/2 tsp
ghee /butter/  sesame oil - as per need
To temper:
spinach - handful
mustard seed - 1/2 tsp
urad dhal - 1 tsp
sesame oil - 1 tsp
onion - 1/4 (small)
green chilly - 2
asafoetida (hing) - a pinch

Method:
For spinach: In a wok, heat oil and add  mustard seeds, urid dal. As the mustard starts splutter, add finely chopped onion, green chilly and saute till it gets soft. Then add finely chopped spinach and cook covered for 5 minutes. Add salt to taste.

Add besan flour to dosa batter. Besan flour helps in flipping the paniyaram easily. The dosa batter should be thick.
10 minutes before starting to prepare the paniyaram, add the baking soda and mix well.
In the mean time prepare the spinach fry. Pour this spinach to the dosa batter and mix well.

Now heat a paniyaram pan and brush some oil in all the holes. Then add 1 tsp sesame oil / butter in each hole. Reduce the flame to minimum and pour the batter to halfway in each hole. Click to see the picture. Cook covered or in open. (I prefer putting a lid to ensure uniform cooking). We can notice some red color in the edges and then flip using a skewer or fork. No need to cover after flipping. Take out once done.

Serving suggestion:
Serve as breakfast or snack with coconut chutney. or kara chutney.

Note:
Do everything in low heat. It may take a little while but that is the only way to get whole fluffy paniyaram.
Non stick pans work the best. But I have used a pan similar to traditional thick paniyaram pan.
For the first batch it may require more oil to fry, but it will take very lesser in the following.

Sunday, September 7, 2014

Dindigul chicken biriyani in cooker

Recently I learned this delicious Dindigul briyani recipe from my friend Emelda. This is one of the most popular non vegetarian foods in Tamilnadu. Only a very few people can bring that authentic taste, as it needs lot of experience . Even the popular restaurants need more care to bring this authentic taste, while a few like her can do it phenomenally. While talking about this recipe , she surprised me by saying that this Dindigul briyani is made in a pressure cooker (traditionally it is done by dum process) and gave me the instructions for that too. One would be amazed at the quality of separate rice grains we get by this process. The secret is in the timing. So follow the instructions carefully and I am sure this is the easiest way to make a delicious briyani.  I am narrating her version of Dindigul briyani and I am sure this is going to be everyone's favorite also.

Immediately transfer to a serving tray gently.

Briyani after pressure cooking.

Pressure cook it in low heat for 6-8 minutes without any whistle and switch off.

Cook the rice before closing the cooker,  till we see almost all water is absorbed and only an inch stands above rice.

After adding the required water to cooked chicken masala, bring it to rolling boil. After that only we add soaked rice.

Serve this delicious Dindigul chicken briyani with onion raita.

Ingredients:
Long Basmathi rice - 3 1/2 cups
water - 5 cups
( 3.5 cups x 2 - 2 = 5 cups)
Chicken - 3/4 kg (almost 2 lb)
(with bone / leg piece is good.)
salt - To taste
Green chilly - 3
Red onion - 1 (big)
Tomato - 4
Lemon - 1/2
ghee - 1/2 cup
turmeric - 1/2 tsp
red chilly powder - 1 tsp
garam masala powder - 2 tsp
thick curd - 1/2  cup (optional but tastes good)

Paste 1:
cilantro - 10 plants (leaves only)
mint leaf - 10 sticks (leaves only)
green chilly - 4

Paste 2:
Ginger - 2 inch
garlic - 10 pearls

For tempering:
cinnamon - 3 inch long
star aniseed - 1
Sea weed (kalpaasi) - 2 curls
Nutmeg (jathikkai) - a tiny bit
mace - 1/4 of  a flower
cardamom - 5
cloves - 6

Preparation:
Clean the chicken and cut it in to big pieces. Rinse and keep aside.
Add  a tsp of salt ,  curd, red chilly powder, turmeric powder, garam masala powder and leave it for an hour.
(overnight marination inside fridge yields very tasty juicy chicken pieces in biryani).

Chop the onion in lengthwise.
Chop Tomato, green chilly, few cilantro, mint into small pieces.
Grind ginger and garlic together to a fine paste.
Separately grind cilantro, mint, green chilli to a very fine paste.

While we start tempering,  rinse and clean the rice. Soak it in water for 10 minutes , drain water and let it remain for 1/2 an hour (while we saute and cook the meat). Don't soak for more time. The rice may break by over-soaking.

Method:
Heat ghee in a pressure cooker.
(Now Soak the rice in room temp water for only 10  minutes).
Toss in the items given for tempering.
Immediately add the chopped onion and fry till it becomes golden brown.
Add the ginger garlic paste and stir well till the raw smell vanishes (less than a minute, don't let it get  red).
Now add the finely chopped tomato and cilantro paste (paste 1). Saute till the tomato gets mashed and oil starts showing off. 
Now put the chicken pieces and pressure cook it for 3 whistles.
After the pressure is released, open the cooker.
Add water and bring to a boil.
Check salt and taste. Add more salt if needed.
Add the soaked rice and continue cooking without closing the lid.
Continue cooking in medium flame until the rice absorbs water and almost 1 inch of water stands above rice.
Now sprinkle juice of 1/2 lemon and close the pressure cooker.
Put the pressure valve and reduce flame to minimum.
Cook in this low flame for 6 - 8 minutes ( don't allow for a whistle).
Switch off.
After the pressure is released , open the cooker.
Now the biriyani may seem to have some extra some water, but it will be absorbed, as soon as we keep it open.
Gently shake the pressure cooker / insert a spatula in the sides and transfer the biriyani to a serving tray (don't use spatula too much, while the biriyani is hot).
Garnish with finely chopped cilantro and mint leaves.
Dindigul chicken biriyani is ready!

Serving suggestions:
Serve as main course meal with onion raitha.

Friday, August 15, 2014

Tomato carrot soup

The best section in any grocery store in my view is the produce (fruit and Veg) department. I try to beautify my shopping cart with colorful veggies as if it is an advertisement for veggies:). That too, if a seasonal vegetable is in sale, it would definitely come with us:) Then coming home, I would wonder how to make use of them efficiently :) Making soups is another nice way to include all those goodies and here is my version of tomato carrot soup. Hope you all enjoy this in this cool weather !
Tomato carrot soup

(for making 6 servings)
Ingredients:
Tomato -  1/2 kg
Carrot - 2
green peas  or sweet corn - handful
turmeric powder - 1 tsp
cilantro , mint leaf - handful.
Butter - 1 tbsp
All purpose flour / corn starch - 2 tbsp
cinnamon - 1 inch
bay leaf - 1
shallot - 3
garlic - 1 whole
whole black pepper - 2 tbsp
cumin - 1 tbsp

Method:
1.Wash and keep the tomato as whole. Peel and chop carrot to small pieces.
Grind garlic, black pepper and cumin to a coarse mixture.
In a pressure cooker add whole tomato, carrot, peas / corn, turmeric powder , chopped cilantro, mint leaf, prepared garlic masala.
Pour 10 cups of water, close the pressure cooker. After 1 whistle reduce flame to medium and cook for 5 minutes. (In ordinary stockpot : cook covered till the vegetables are cooked tender).
After releasing the pressure, add salt. Take out the tomatoes and remove the skin and puree.
2. Heat 1 or 2  tbsp butter in a pan.
Put bay leaf, cinnamon and after 5 seconds. Then fry chopped shallot till it gets golden brown. Then add the all purpose flour or corn starch and fry for a few seconds till raw smell goes.
3. Pour this to the cooked vegetable stock and bring to a boil.
Garnish with chopped cilantro.

Tomato carrot soup is ready!

Serving suggestion:
Serve with garlic bread.

Thursday, August 14, 2014

Chennai Kaara chutney

While every city in Tamilnadu is telling tales on their own special cuisines, Chennai has it all under  one roof.  Have you ever wondered what makes those Chennai restaurant idlies more delicious? Other than the usual sambar and coconut chutney we see everywhere, they would serve you a spicy red chutney, called kaara chutney. I think it might have originated from Andhra, as they make the spiciest foods in India. If you buy a parcel of idly (carry home version) , from those small idly shops, they would tie this spicy red chutney in a small pouch along with all the other side dishes. If tomatoes are in their peak season, we can see this chutney in all shops. This is one of my most favorite chutney and here goes the recipe for that spicy kaara chutney.

Ingredients:
Red onion - 1 medium size
Tomato - 4 (1/4 kg)
urid dhal (black gram) - 2 tbsp
Dried Red chilli - 6 to 8
tamarind - gooseberry size
oil - 1 tbsp
for tempering:
mustard seeds - 1 tsp
urid dal - 1 tsp
curry leaves - 1 sprig
sesame oil - 2 tsp
Salt - tsp
hing - a big pinch

Method:

Heat 1 tbsp oil in a pan.
Fry the 2 tbsp urid dhal to red color. In the same oil fry the red chillies and keep them aside.
In the same pan add chopped onion and fry to golden brown.
Add chopped tomato and cook covered with few tbsp water till done.
While the tomato is cooking add tamarind and cook it also.
Let everything cool and grind together the onion, tomato, urid dal, tamarind, salt, dry chilly.
For tempering, heat 2 tsp oil in a separate pan.
Crackle the mustard, then add urid dal. Let it get red. Then goes the curry leaves, hing.
Pour this hot over the prepared chutney and mix well.
Chennai kaara chutney is ready!

Serving suggestions:

Serve as side dish with Idly , dosa , along with sambar and coconut chutney for a special treat.
It would be enough to serve with 25 idly.
Makes a big batch and stays good refrigerated for a week.


Tuesday, August 5, 2014

Ragi paniyaram

Paniyaram or appam is usually prepared with rice flour. On that day I wanted  to incorporate some very ripe bananas sitting and also to stick to some miller recipes.  So I made it with ragi flour. Ragi is a gluten-free grain. It would be easier if we add some wheat flour to it , to keep the paniyarams in shape. I made this on a weekend as a tea time snack, as my hubby dear likes sweeter goodies better:)  After enjoying enough paniyarams on Saturday evening, I refrigerated the leftover batter and devoured it the next day also. I think from next time, I will be making this batter ahead for weekend.
Here is my version of ragi paniyaram and it will definitely make everyone happy:)


paniyaram without baking soda


paniyaram with baking soda

Ingredients:
Ragi - 1 1/2 cup
whole wheat flour - 1/2 cup
cardamom powder - 1/2 tsp
ripe banana - 2
milk / coconut milk - 1/2 cup
jaggery - 1 cup (crushed)
Baking soda  - 1 tsp (optional)
oil - few tbsp

Method:
Dry roast the ragi flour and wheat flour together for 5 minutes in low heat, so that it smells nice (not red).
Let it cool . Mash the bananas and add to flour. Then add cardamom powder.
Melt jaggery in little water and remove any sediments at bottom.
Add this jaggery solution also to the mixing bowl. If needed, add coconut milk or milk little by little and mix well.
Heat a paniyaram pan.
Add 1/2 tsp coconut oil in each dent (for the first time we may need 1/2 tsp oil. After that few drops will be enough).
Reduce flame to minimum and scoop the paniyaram mixture till 3/4 th in each.
Place a lid and cook covered. Check every minute and it will be ready in almost 3 minutes in the first side. Flip (using a spoon and skewer) and cook the other side uncovered for another minute.
Take out and enjoy!

Note:
This mixture can be prepared earlier and can be refrigerated for further use.
Adding baking soda (few minutes before cooking) makes the paniyaram very spongy. It is optional only.
Makes 25 paniyaram.
Using coconut oil or butter or ghee for making the paniyaram will definitely elevate it to next level:)

Friday, July 25, 2014

Drumstick ridgegourd koottu

Vegetables like ridge gourd (peerkan kaai) , drumstick (murungaikai) are very native to South Indian ....especially the Tamilnadu cuisine. Whenever I cook drumstick, I find it difficult for anyone to eat ....that too men and kids consider it old fashioned to eat it in front of others :) While growing up, drumstick had played an important role in our daily menu, as we had a large tree in the backyard. So instead of buying some vegetable for sambar, it would always be murungakkai sambar. My mom used to cook the drumstick and scoop out the edible portion inside drumstick and add it in many dishes. Few weeks back I saw fresh succulent drumsticks here at the rate of $ 6 / lb . I bought 2 drumsticks for $ 2 (!) and wanted to make something delicious. I added it with ridge gourd and the result was very delicious. I made it for a Saturday lunch along with ridge gourd peel chutney and served this koottu as 'curry over rice'. It was a very light and delicious meal. Hope you all try my version of this koottu in this peek drumstick , ridgegourd season and enjoy.


Mashed drumstick ridge gourd koottu

Ingredients:
Drumstick - 2 (long)
ridge gourd - 1 (1 lb)
green gram dhal (moong dal / paasi paruppu) - 1/4 cup
turmeric - a pinch
hing - a pinch
onion - 1
green chilly - 1
curry leaves - few
oil - 1 tbsp
mustard seed - 1/2 tsp
urid dal - 1/2 tsp
salt - to taste

Masala to grind:
coconut - 2 tbsp
dry roasted fennel - 1 tsp
green chilly - 2
cumin - 1/2 tsp

Method:
Cut the drumstick into two or three long pieces. 
Pressure cook dal along with drumstick, turmeric and hing.  Scoop out the edible inside portion of drumstick.
Squeeze and extract juice from outer layer too. Discard the fiber.
Peel the ridgegourd (save the peels for chutney...see the recipe for peerkan kaai thol thogaiyal).
Chop it into small pieces.
Chop onion, green chilly, curry leaves and keep aside.
Grind the masala to a coarse paste.
Heat oil in a wok. Let mustard crackle and urid dal gets mild red.
Then add chopped onion, chilly, curry leaves and stir till onion gets soft.
Then add the ridge gourd and cook covered with a handful of water.
It may take 5 minutes to get cooked.
After that, add the cooked dal, mashed drumstick, salt and masala paste.
Cook covered in medium heat for 2  to 3 more minutes or till the raw smell goes.
Switch off.  Garnish with chopped cilantro.
Ridge gourd drumstick curry is ready!

Serving suggestion:
Serve as curry over hot rice along with pappad and a hot chutney.
Also makes a side dish for any rice or chapati.

Note:
If needed add 1 tomato while making the koottu.

Friday, July 18, 2014

Potato masala panini

Panini can be explained as a crispy grilled sandwich. If this delicious sandwich gets the fillings in Indian flavor, then it will definitely satisfy our tastebuds :) This is another recipe I got from my neighbor aunty. She calls this as Mumbai style grilled sandwich. Hubby and me absolutely love this very much. While making potato subzi for chapati, I reserve a  little for this panini or masal dosai and by this way we can save some time. Also this is a nice way to use leftover vegetable curries and also a good idea to make kids eat their vegetables:)
Also check out my capsicum panini.


Ingredients:
sandwich bread - 6 slices
potato masala - 4 tbsp (see below for recipe)
onion - 1/4 cup
butter - 1 tsp (each)
Indian green chutney - 1/4 cup
tomato sauce - 1 tsp each sandwich

Method:
Heat the panini maker to maximum heat with the lid closed. After we see the ready button glowing, open the grill. (Read and follow the instructions carefully if it is the first time).
In the mean time place the required bread slices (3 slices) on a plate and spread 1 tbsp green chutney and few slices of onion, 1 tsp tomato sauce over the breads.
Take few more bread slices and  spread the potato masala over them. Close the green chutney covered slices with these aloo covered bread slices.

Rub a piece of butter on panini press (bottom plate) in a small area and  place the prepared sandwich.(one set at a time).
Place the lid gently (no locking) and the by the weight of the top plate the sandwich will get thin and crunchy  in one minute.
If needed apply some more butter on top of sandwich and press again gently.
Take out using a spatula, slice and serve while it is hot.
Potato masala panini is ready!

Serving suggestion:
Makes a main course meal in breakfast or dinner.
Serve with Indian chai tea or orange juice as breakfast.
-------------------------------------------------------------------------------------------------------
I )Spicy potato masala curry:  
This is one of the best fillings I make for potato paratha, spicy masal dosai, etc. We can use the below curry as side dish for chapati too . This curry should be thick and should be spreadable. Keep this handy to amaze your loving family.

Potato masala:
Boiled potato - 3
red onion - 1/2
ginger garlic paste - 1 tsp
turmeric powder - 1/4 tsp
red chilli powder - 1 tsp
cilantro - few leaves.
salt - to taste
garam masala / curry masala powder - 3/4 tsp

Method:
 Peel the boiled potatoes and mash almost finely.
Heat oil  in a wok, add fennel (sombu). As it gets red, add finely chopped onion. After the onion gets soft, add ginger garlic paste and saute till raw smell goes. Add the turmeric powder, chili powder, curry masala powder and mix for 10 seconds. Then add the mashed potatoes, salt, cilantro and cook covered with handful of water for 5 minutes.
After switching off sprinkle lemon juice and keep aside.
--------------------------------------------------------------------------------------------------------
II) Easy potato masala for filling:
Pressure cook the potatoes. Peel and mash them as finely as possible. Add salt, garam masala powder, turmeric powder, red chilly powder and chopped cilantro. Mix well and keep refrigerated.
This is the easy version to make potato fillings in any Indian recipe.

Monday, July 14, 2014

Ginger lemon juice

Here is  a very unique lemon juice I learned from my mom (handed down through generations),  which can make any one feel better immediately during summer. I am not sure of all the scientific details behind this , but I am sure this will give a lot of energy. Hubby likes this juice very much and I make this often during summer. This became my brother inlaw's favorite too and I was surprised to hear him remembering and asking for this simple juice when they visited us after many years. Also I was very glad to see our little niece Nissi enjoying this juice:) Even before seeing me, she was saying over phone that 'Periyamma (aunt) ,I am eager to see you '... I don't know how she started liking me even without seeing and also her surprising affection as soon as she met me made me very happy. She spent every moment with me when she was here with us and enjoyed whatever I cooked and fed her with smile . She climbed on the kitchen counter and sat to learn/ help with my kulfi ice cream recipe too:) .  I have never met anyone like her in that age with such an enthusiasm:)  Isn't it the crowing moment for a lady like me:) So I am happily noting down the recipe for her.

Ginger lemon juice

Ingredients:
Lemon - 1
jaggery (Indian brown sugar) - 3/4 cup (as per taste)
coriander seed - handful
ginger - finger long
water - 5 cups

Method:
Warm 2 cups of water and dissolve the jaggery. No need to filter, as we will be serving the clear top layer only.
Peel the ginger and chop it.
Grind together whole coriander seeds and ginger using some water. Extract the juice from using a filter. Take out all the juice from coriander seed by filtering twice or thrice using 2 more cups of water.
Take this juice along with jaggery solution. Keep refrigerated or in room temperature up to 2 hours only (I prefer serving immediately in room temperature).
After 10 minutes we will see some sediments in the bottom....discard this bottom layer.
Before serving, squeeze the juice of one whole lemon mix well and adjust jaggery and lemon to taste.
Ginger lemon juice is ready!
 
Serving suggestions:
Makes a refreshing drink during summer.

Thursday, July 10, 2014

Easy Mango Shrikhand

Making shrikhand itself is an easy breezy job for a food lover. But having this recipe in hand will make the job more easy and delectable. I tasted this mango shirkhand in my neighbor aunty's house and learned to make it from sour cream instead of curd. She is known for hosting many homely dinner parties and I help her sometimes too. I always wonder how she juggles many things at a time.  I like the way she uses all kinds of short-cuts, so that the hostess also gets some time to rest and look fresh and pretty:) Isn't her confidence amazing !
I have used real mangoes in this recipe, but aunty recommends using tinned alphonsa mangoes instead of pureeing the mangoes.

Note: This is not an authentic shrikhand recipe. But comes handy when we need to prepare a dessert without much effort.
Mango shrikhand using sour cream

Ingredients:
Sour cream - 1 cup (fat free or whole)
Cream cheese - 2 tbsp (optional)
Powdered sugar - 1/2 cup + up to taste
cardamom powder - 1/2 tsp
Mango - 1 (or 1/2 cup puree)
Mango - 1/2 (chopped)

Method:
Sieve the powdered sugar to get rid off the lumps (this step is a must).
Using a fork, mix the sour cream and cream cheese separately, till they get a smooth texture.
Puree the mango. Chop another mango and take a handful for this recipe and enjoy the other half  yourself:)
Add mango puree, cardamom powder, chopped mango to the above  and mix well.
Keep refrigerated in an air tight container for almost 2 hours (or till it gets chill).
Garnish with chopped pistachios while serving.

Serving suggestions:
Serve as dessert.

Wednesday, June 25, 2014

Milagai bajji

Here is an entire article of all kinds of capsicum pakora I tried:)

Capsicum bajji / capsicum fries / mirchi pakora.

When it comes to milagai bajji, I tasted my very first (long back) when we visited Kuttallam along with my Tuticorin aachi and family. Thatha (grandpa) fondly bought us this spiciest bajji while all were hungry after taking bath in the waterfalls. At that time I could eat the fried batter in the outside leaving behind the capsicum, as I thought it would be spicy.Though everybody told me it won't be spicy, I didn't believe:) I started following this trick till I grew up until I found that this capsicum is nothing but a pepper with spicy smell only. Then it became my most favorite bajji. Another place I used to see this bajji was in the annual exhibition in our Tirunelveli Town. The mirichi pakora vendors would tie those garlands of non-spicy capsicums around their stall. The flavor of these bajjis and Delhi appalam would drag the crowd. Exhibitions were the only mass-entertainment there at that time ,other than cinema theaters:). The lights, circus, rides, exhibits, the shopping (YES) and the north Indian foods that were rare at that time for us would make the entire population of Tirunelveli and surrounding villages to long for that fair. When hubby took me to this fair , there he learned that I am not a fan of those challenging rides.....except my favorite merry go round / carousel:) On seeing my enthusiasm for carnivals, he started taking me to all the fairs around. Here also, the carnivals in USA shows us more entertainments and delicious foods like funnel cake, pizza. But the common thing I see in Tirunelveli exhibitions and USA carnivals is the happiness that catches up all the people of all ages, once they enter the fair grounds.  So whenever I want to add some more happiness in our weekends, I will make some foods with glad memories. No wonder these capsicum bajjis ranks high in our home:) Enjoy this mirchi pakora with your family and tell me how you like it:)


Jalapeno, my favorite... use this only if you can tolerate its  high spice level. This is not Indian bajji milagai.

I coat some tomato sauce inside jalapeno, after removing the seeds to make it less spicy.

Ingredients : 
Non spicy long peppers (Bajji milagai) - 10
Besan flour (kadalai mavu) - 3/4 cup
dosa batter - 1/4 cup
(or) rice flour - 2 tbsp
salt - to taste
red chilly powder - 1/2 tsp
hing (asafoetida)- 1/8 tsp
baking soda - 1/2 tsp
garlic - 2 pieces (finely ground)
ajwain (omam / bishop weed) - 1/4 tsp

oil - to deep fry (200 ml)

Method:
Rinse the peppers. Slit open and remove all the seeds. We can slice it in lengthwise into two or three pieces too. Apply some tomato sauce inside the jalapeno (if using jalapeno only) to reduce the heat of pepper.
While using bajji-milagai (non spicy peppers), there is no need to slice them. But simply slit and use it whole. ..(see pictures below)
For bell peppers, I slice them in rounds...(see pictures below)

Grind the garlic and ajwain to a fine paste with 1 tsp water. Mix all the above (except oil) along with 1/4 cup water to a thick batter. Add more water if needed, but keep the batter like thick idly batter ,otherwise the bajjis will absorb more oil.

Heat oil in a wok. Before it gets smoky hot, reduce flame and keep in medium flame.

Dip the pepper slices in the batter and put it on the hot oil.  Do not clutter. Flip and fry both sides. Drain oil and take out.

Milagai bajji / fritter is ready!

Serving suggestions:
Serve hot as snack along with hot coffee or tea during rainy / winter season.
Tomato ketchup is a good side dish

Other forms of milagai bajji I tried:
Indian bajji milagai (Indian long pepper) ,given by my neighbor aunty Manjula. I used it to get the real taste once.
Bajji with green bell pepper (kudai milagai bajji).


Bell pepper and onion slices , before making bajji.
Note:
*It is always a good idea to make onion bajji or some other bajji along with capsicum bajji , for guests, as everyone can't taste the spiciest bajjis.
*Using Jalapeno in bajji is my favorite part only. For non spicy versions, go for bell peppers.
*The bajji milagai (peppers used for making bajji) are usually yellowish green in color. Longer than jalapeno and softer too. They won't have any spicy taste , but smells like green chilly. I have never seen them in USA and I don't know the exact English name for that pepper too. But google may help you to see how it looks:)

Enjoy my other bajjis also:)
Sweet bajji
Vazhaikkai (plantain) bajji
Potato bajji
Cauliflower bajji
Onion bajji
Kathirikkai bajji


Ulunthu kazhi

Ulunthu Kali is a highly energetic food, rich in protein and vitamins. This kaLi is given to girls who have reached puberty for nearly 16 da...